Creating a cozy and stylish nursery for your new arrival can be an exciting yet challenging task. One of the essential components of any nursery is the bedding set. Baby bedding sets come in various styles, colors, and materials, ensuring that you have ample options to cater to your personal tastes and the specific needs of your child. Selecting the right one not only enhances the overall decor of the room but also guarantees comfort for your baby and promotes better sleep, which is crucial for their growth and development. In this article, we will explore popular styles of baby bedding sets, important factors to consider, and tips for making the best possible choice to ensure a stylish and safe environment for your little one.
Understanding the Importance of Baby Bedding
Comfort for Your Baby
Choosing the right baby bedding is not just about aesthetics; it also plays a crucial role in creating a safe and comfortable sleeping environment for your infant. Babies spend an astounding amount of time sleeping, particularly during their early years, and a well-chosen bedding set can significantly influence the quality of their rest. High-quality bedding helps ensure their comfort, supports healthy sleep, and reduces the risk of rolling off or getting tangled in loose materials. Soft fabrics that breathe well and are gentle against the baby’s sensitive skin will help keep them cozy and focused on resting.
Safety Considerations
Safety should always be a top priority when selecting baby bedding. As infants are more susceptible to risks, it’s essential to choose items that meet the latest guidelines from pediatricians and safety organizations. This includes avoiding bedding options with loose blankets or excessive padding, which can lead to suffocation hazards. Instead, opt for fitted sheets and wearable sleep sacks. It is also wise to avoid pillows and bumpers in the crib, as these can pose additional risks. Always prioritize products that promote safe sleep practices, giving you peace of mind while your baby slumbers.
Long-Term Investment
Investing in a good quality bedding set can be beneficial in the long run. Durable and well-constructed bedding will withstand frequent washing and the inevitable wear associated with babies. This makes it a cost-effective choice compared to cheaper alternatives that may need replacing after just a few uses. Additionally, products that can adapt as your baby grows—such as those compatible with convertible cribs—offer even more value, allowing you to use them for multiple children and in various nursery configurations.
Popular Styles for Baby Bedding Sets
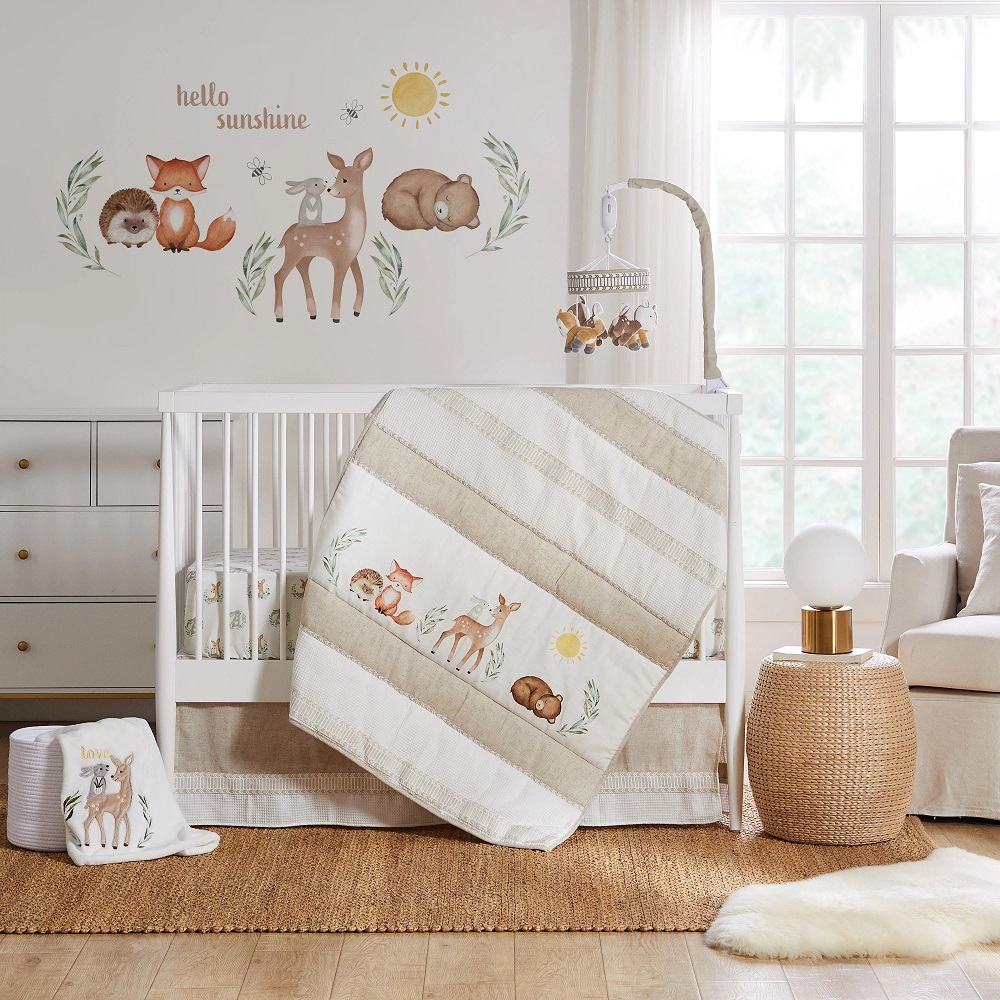
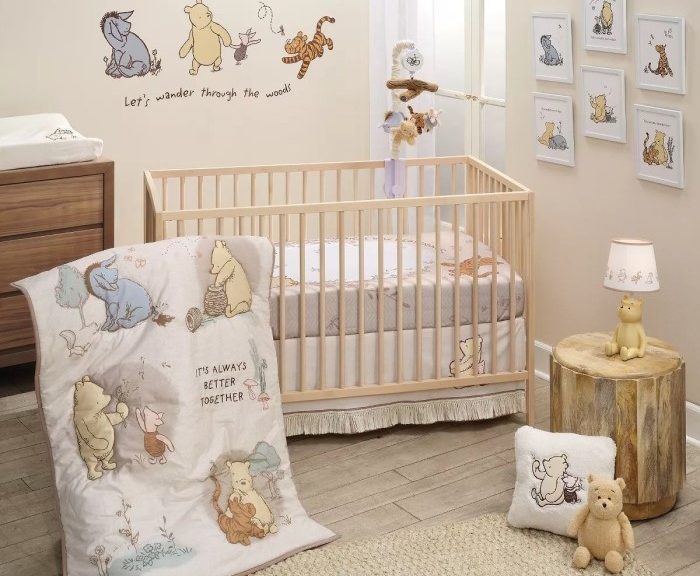
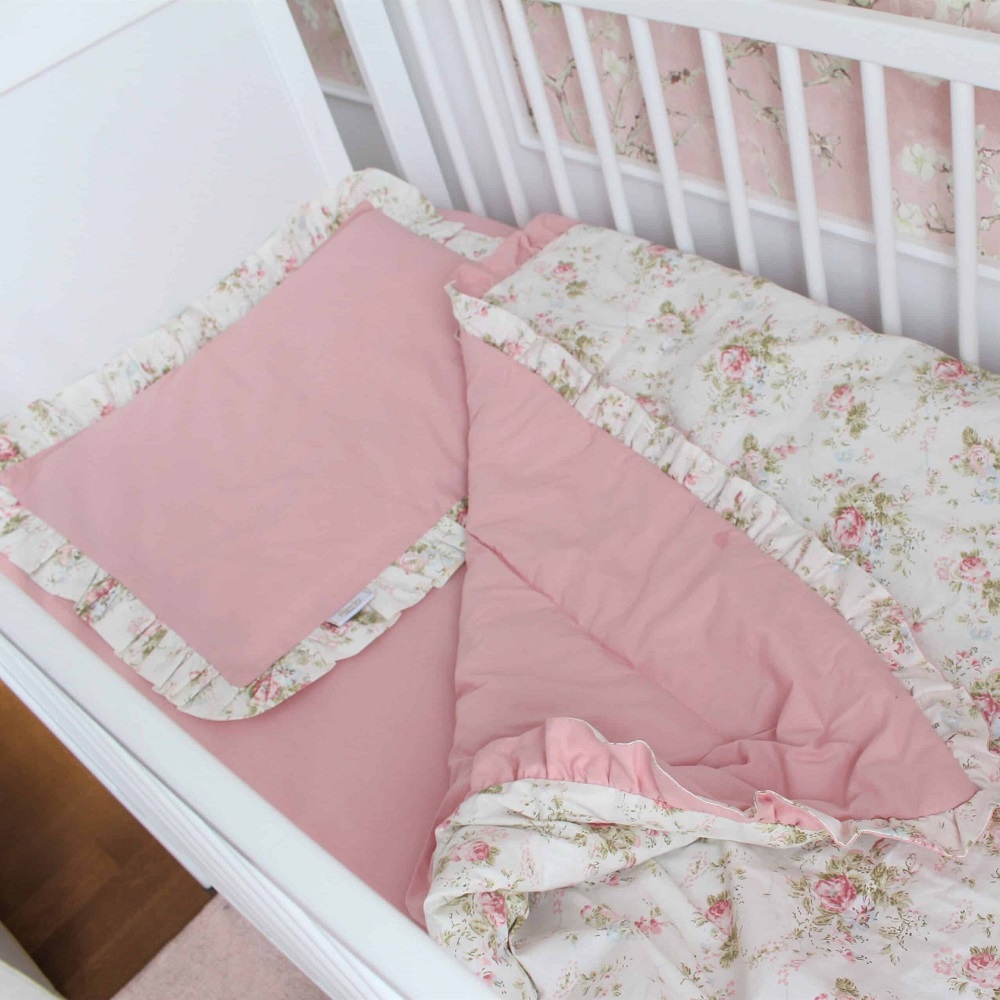
Classic Designs
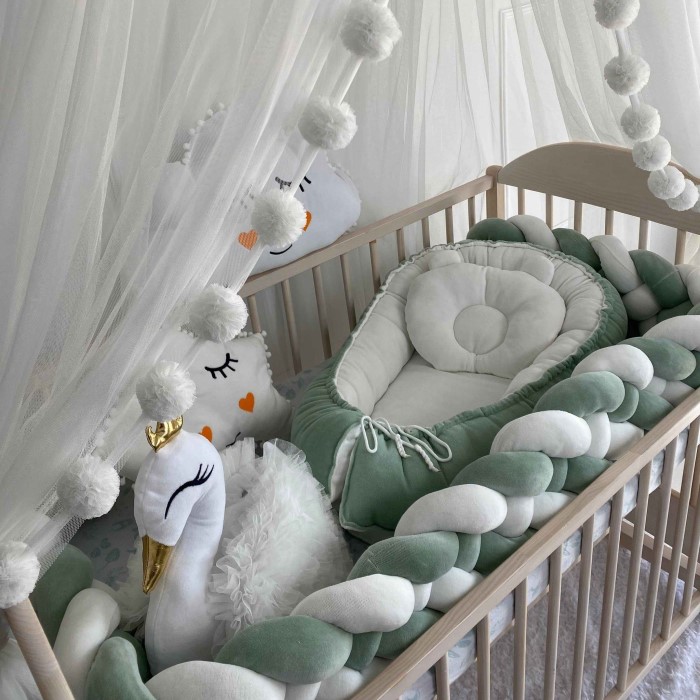
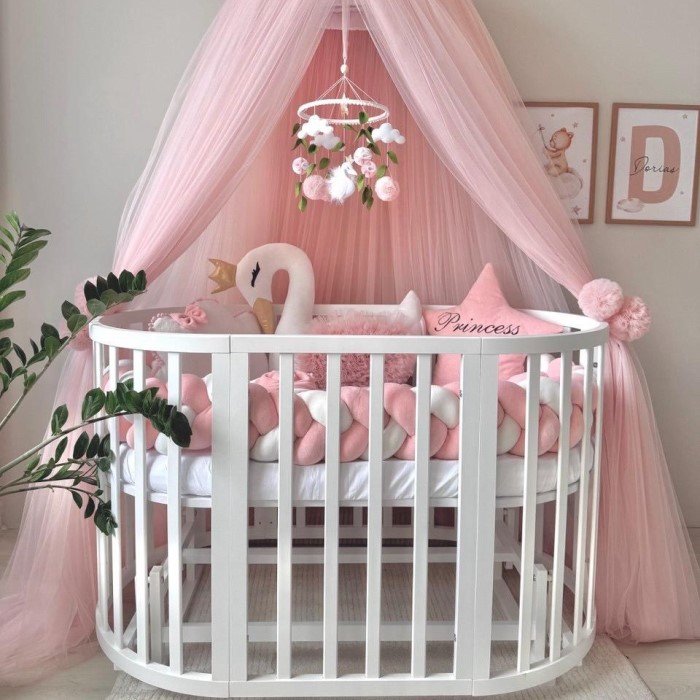
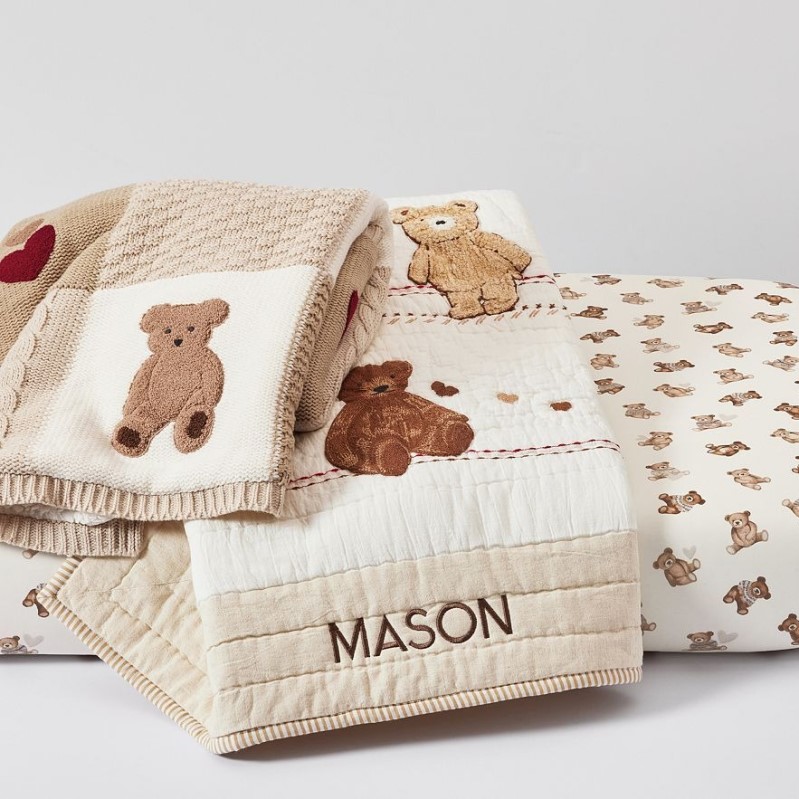
When it comes to choosing a style, classic baby bedding is often a timeless choice that features traditional prints and pastel colors. Sets may incorporate embroidery or patchwork designs that evoke a sense of nostalgia. Soft shades such as powder blue, soft pink, or gentle yellows create a warm and serene environment ideal for any nursery. Classic designs are appealing to many parents because they are versatile and can easily coordinate with a variety of nursery themes and accessories, maintaining a cohesive look throughout the room.
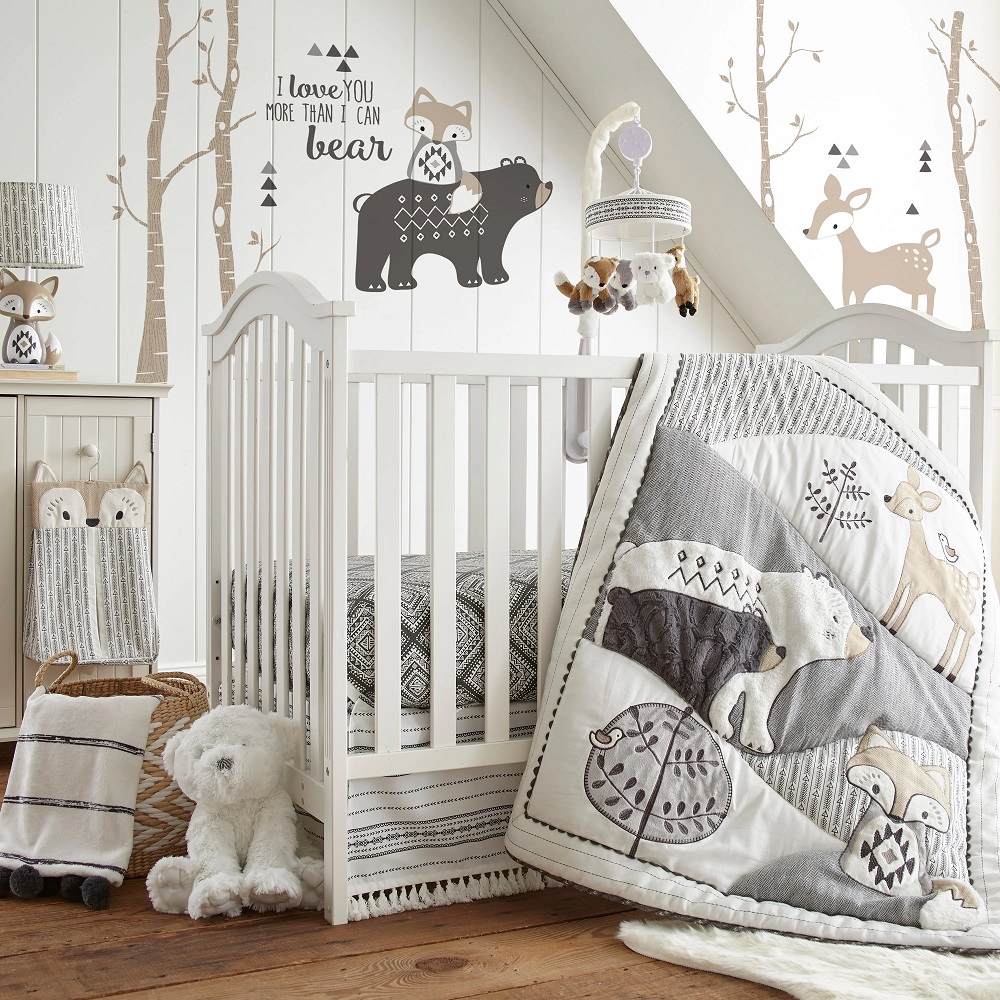
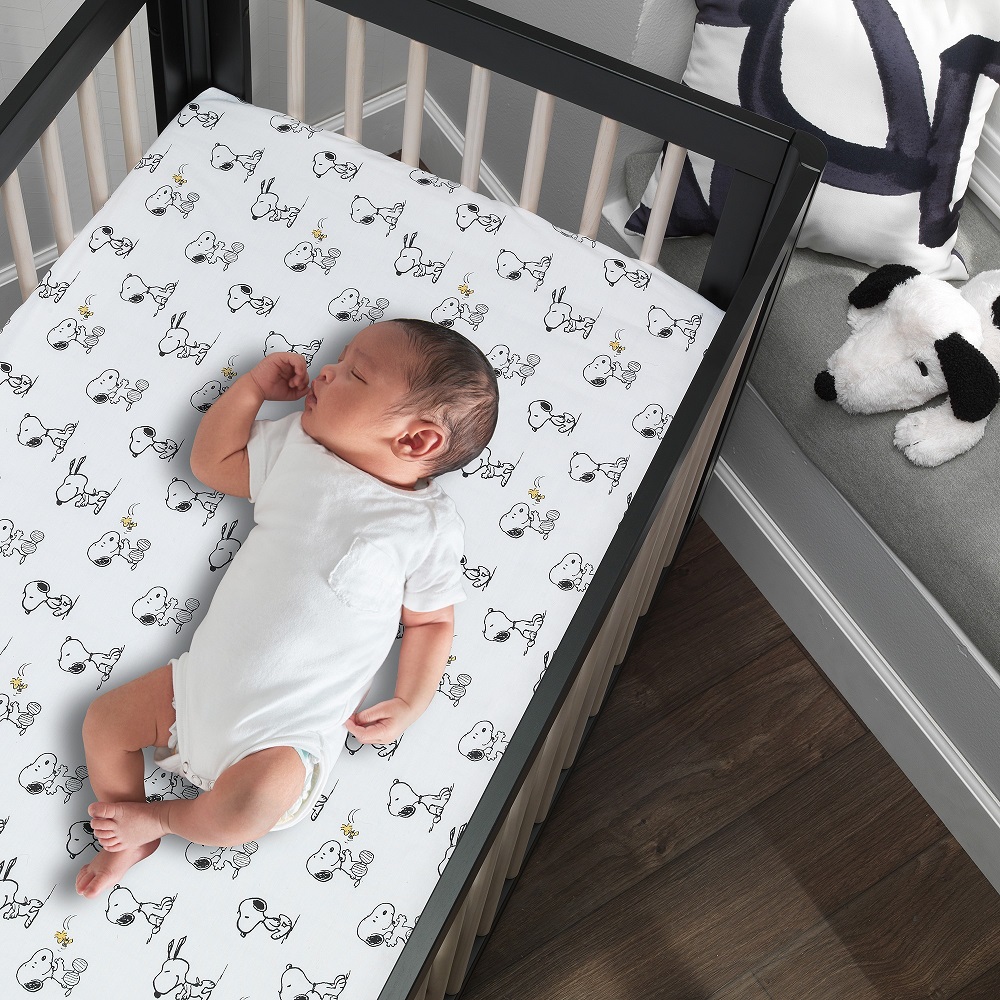
Modern and Minimalist
A modern approach to baby bedding focuses on clean lines and simple patterns, making a statement without overwhelming the space. Minimalist bedding sets often utilize monochromatic colors or muted palettes with geometric accents. This style not only appeals to parents who appreciate contemporary aesthetics, but it also contributes to a calming atmosphere. Many modern sets are made with functionality in mind, using easy-care materials that promote convenience while still ensuring the comfort of your little one.
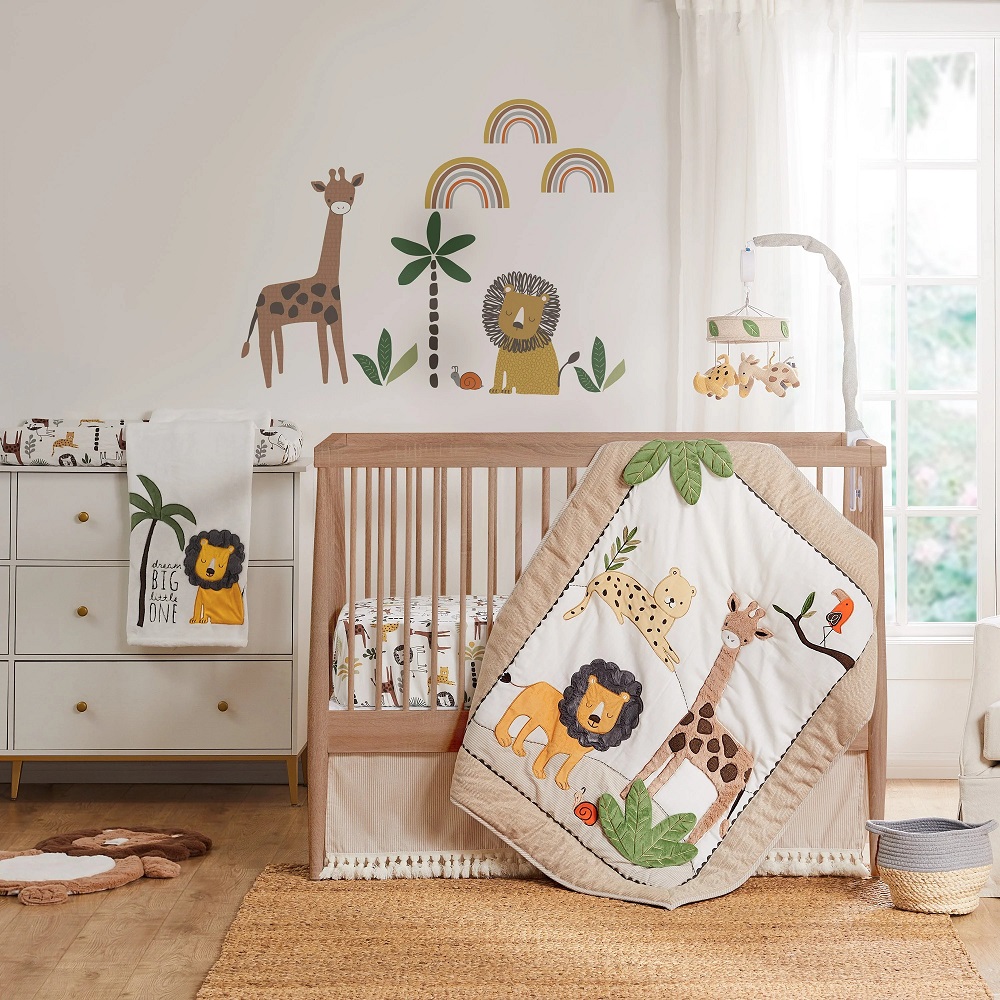
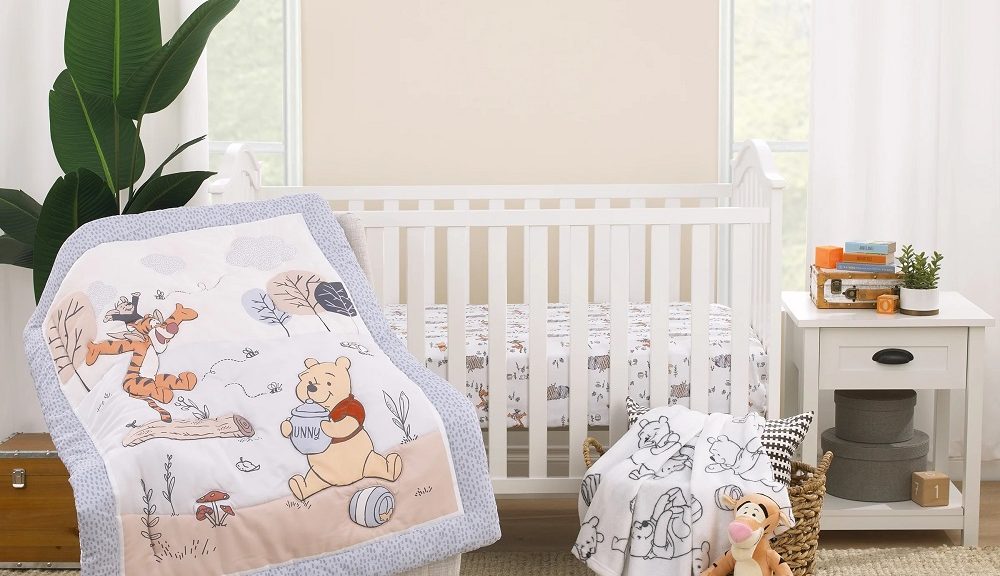
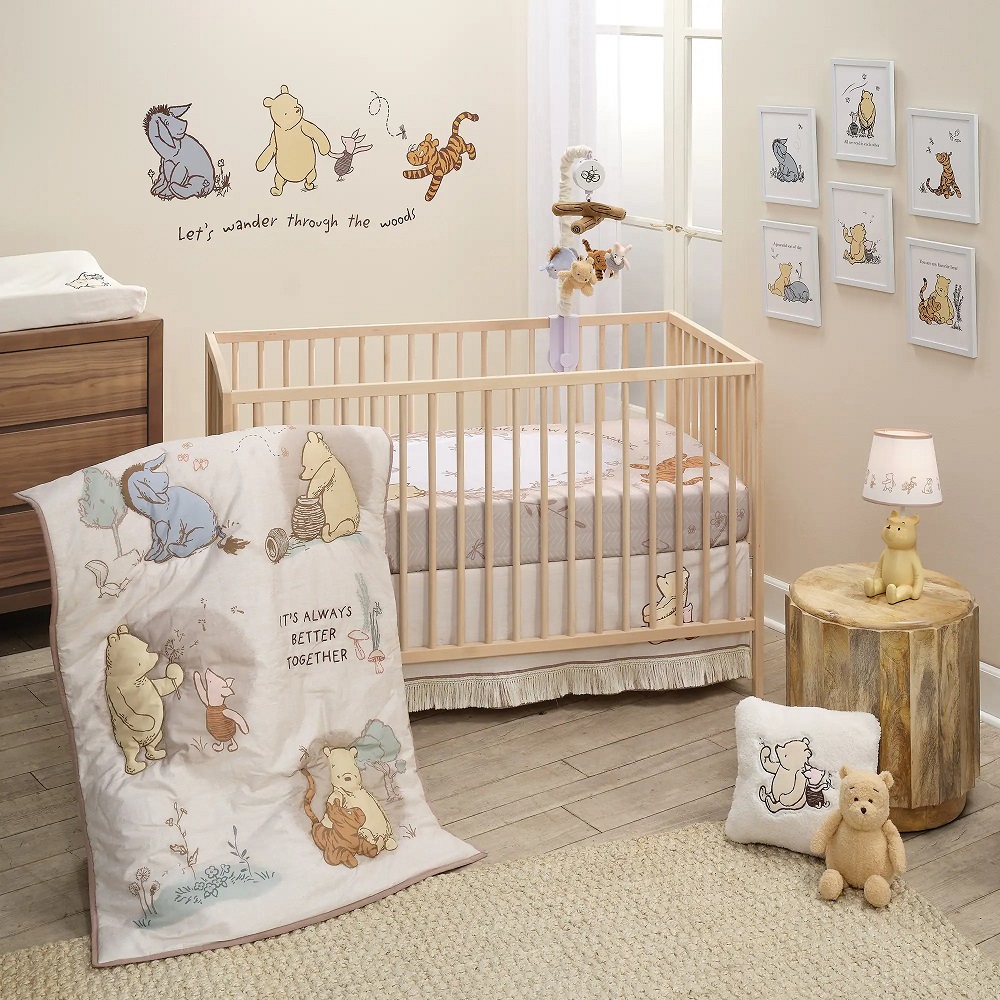
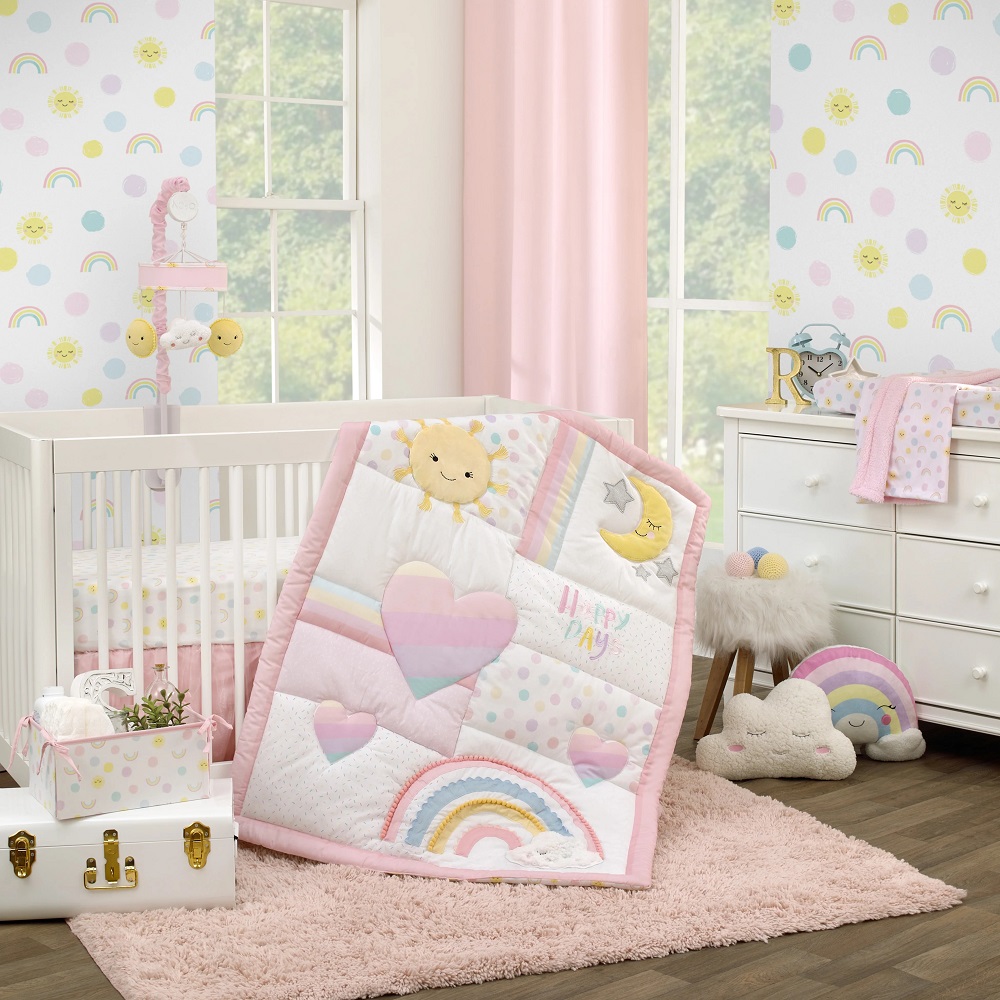
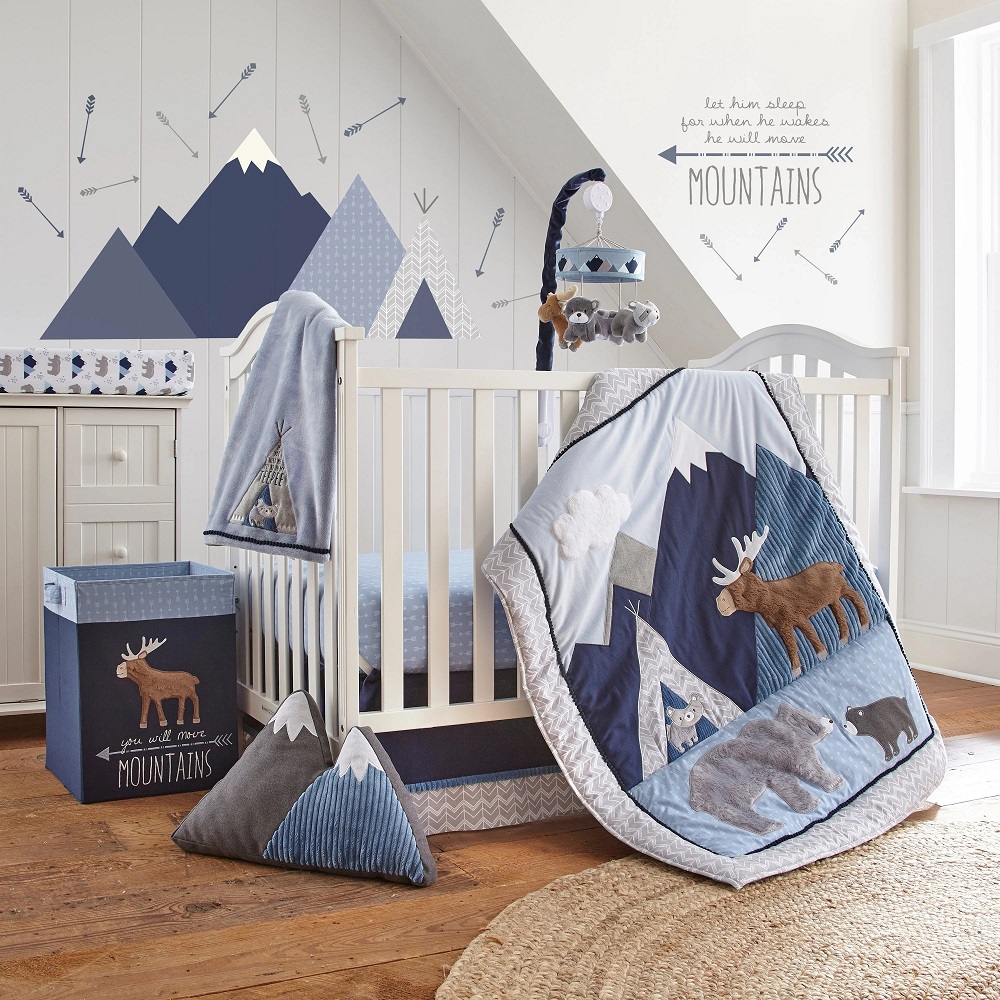
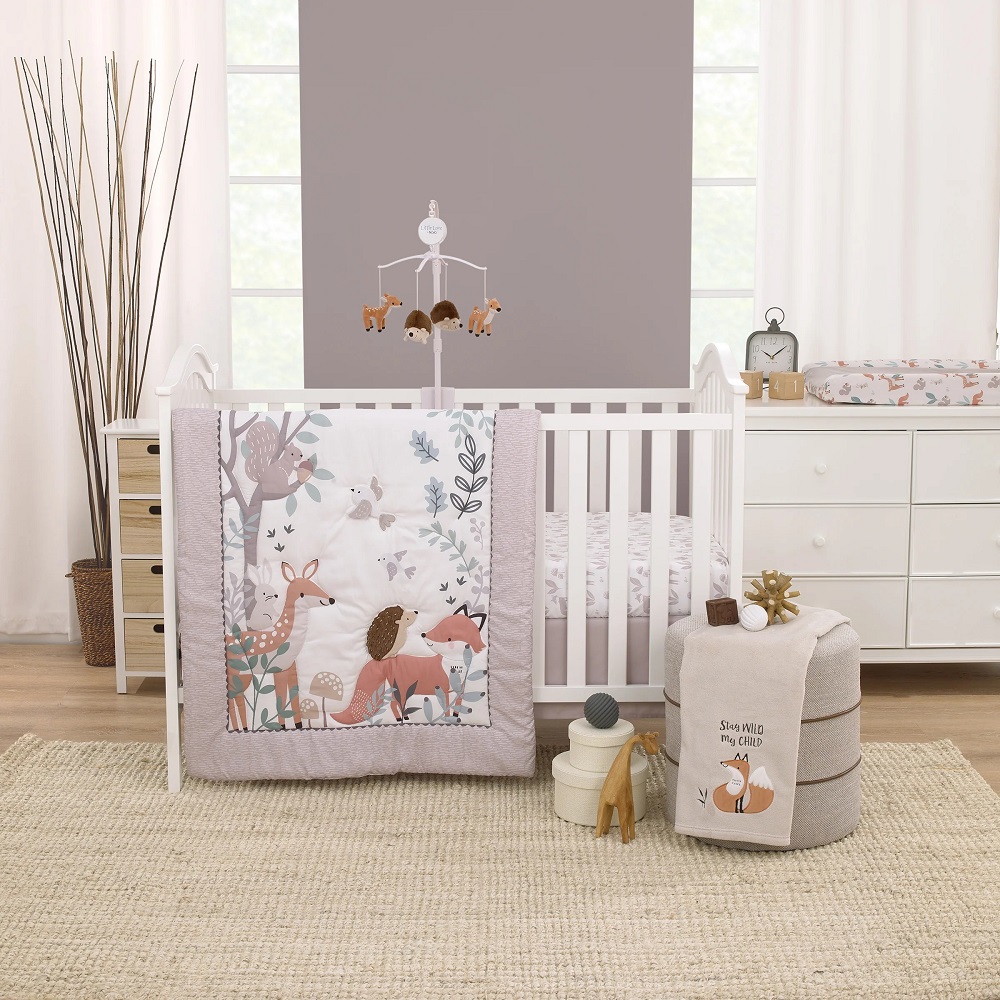
Themed Bedding
Themed baby bedding sets provide an excellent opportunity for parents to inject their creativity into the nursery. Whether inspired by beloved characters, animals, outer space, or fairy tales, these sets often feature playful prints and vibrant colors. Themed bedding can help establish the nursery’s overall ambiance and tone. For instance, a nautical theme with sailboats and ocean waves can be supplemented with matching wall decals and plush toys, creating an engaging environment that delights not only the parents but also the baby as they grow and explore their surroundings.
Essential Considerations
Safety Standards
When selecting baby bedding sets, safety must always be at the forefront of your decision-making process. It is crucial to ensure that any bedding items comply with current safety standards and guidelines. Focus on products designed specifically for infants, such as fitted sheets made from soft, breathable materials. Avoid items with loose blankets, excessive padding, or decorative elements that could pose risks of suffocation or entrapment. A crib environment that promotes safety is essential, and your choices should reflect that commitment.
Material Quality
The materials used in your chosen baby bedding sets should also be a top consideration. Opt for soft, breathable, and hypoallergenic fabrics like organic cotton or bamboo. These materials are not only ideal for regulating temperature but also help to wick moisture away from the baby’s skin. Touch matters, and high-quality fabrics will feel gentle against your baby’s delicate skin, promoting both comfort and health. Avoid bedding made with synthetic fabrics that may cause irritation or discomfort and always look for certifications that indicate safety and natural composition.
Size Compatibility
Proper sizing is critical for achieving a snug fit within your nursery. Most crib mattresses come in standard sizes, but it’s essential to verify the dimensions of your bedding items to ensure a proper fit. Fitted sheets should wrap securely around the mattress corners, eliminating any gaps that could create safety hazards. Additionally, when transitioning to a toddler bed, make sure to assess the size compatibility of your bedding. Many parents find it useful to select mattresses and bedding that can adapt to different bed sizes as their child grows.
Budgeting for Baby Bedding
Setting a Budget
Establishing a budget is a crucial step in your baby bedding selection process. Baby bedding sets can vary significantly in price, ranging from affordable to luxury options. By creating a realistic budget, you can streamline your search and prevent overspending. While it’s important to find a suitable option within your financial parameters, prioritize quality over cost to ensure safety and comfort for your baby, as investing in a good-quality set can ultimately pay off in the form of durability and reliability.
Exploring Affordable Options
Consider durable options that provide good value for your money. Many retailers offer seasonal sales or discounts on baby products, allowing you to find quality sets at reduced prices. Explore bundle deals that include multiple pieces, as purchasing a complete bedding set can keep you within budget while also providing a cohesive look. Keep an eye on clearance sections or sales events, especially during holidays or end-of-season sales, when you may snag quality items at lower prices.
Reading Reviews
Utilizing online resources to compare prices and read customer reviews can give you a more comprehensive understanding of potential bedding options. Reviews often detail users’ experiences regarding quality, ease of washing, and overall satisfaction. This information can assist you in identifying high-quality bedding sets that align with your budget and meet your expectations. Additionally, asking friends or family for recommendations can also help you make informed decisions based on trusted experiences.
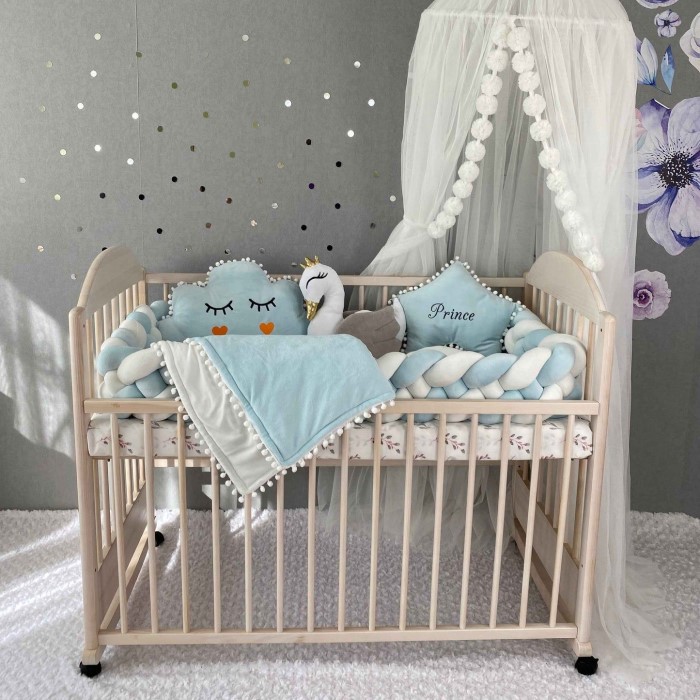
Personalizing Your Nursery
Adding Personal Touches
Once you’ve selected the perfect baby bedding sets, consider how you can personalize your nursery to reflect your family’s unique style. Unique decorations and thoughtful accents can transform the space into a welcoming environment. Beyond choosing wall art or mobiles that match the bedding theme, you could include sentimental items—like heirlooms or family photos—to reinforce connections to your family’s history in the nursery.
Involving Family
Engaging older siblings in the decorating process fosters excitement for the new baby’s arrival and strengthens family bonds. Allow them to help choose decorative items, like picture frames or books to display on shelves, which can create a sense of ownership and pride in the shared space. Creating artwork together can also serve as a special activity that celebrates the new addition while giving older children a role in welcoming their sibling.
Creating a Cozy Atmosphere
Personalizing your nursery can revolve around more than just the bedding. Focus on creating a cozy atmosphere by incorporating soft lighting, comfortable seating for parents during late-night feedings, or even a small reading nook. Selecting paint colors or wallpaper that evoke calmness will help to enhance the overall environment, making it a peaceful place for your baby to relax and grow.
Maintaining Your Baby Bedding
Regular Cleaning
Maintaining clean bedding is crucial for your baby’s health and hygiene. Wash the bedding regularly according to the care instructions, and establish a routine for laundering items like sheets, blankets, and crib skirts. Using gentle, fragrance-free detergents will help prevent skin irritation while eliminating allergens and bacteria that can accumulate over time. Pay attention to cleaning frequency, particularly if your baby has allergies or sensitivity issues.
Using Protective Covers
Investing in protective covers for your crib mattress is a smart move to prolong its life and ensure cleanliness. Waterproof covers help guard against spills, leaks, and other accidents that are commonplace in households with babies. They can make cleanup easier, reducing stress during busy infant-care days. Keeping the mattress in good condition will also save you money in the long run—clean mattresses last longer than ones that endure regular exposure to moisture and mess.
Spot Cleaning Techniques
With babies, accidents are bound to happen at any moment. Be prepared to deal with spills or stains promptly. Quick action on stains can prevent odors and protect the fabric’s integrity. Keep baby-friendly stain removers at hand for efficient spot cleaning after messes, as waiting may lead to more challenging cleanups. Additionally, familiarize yourself with spot-cleaning techniques that are safe for your chosen materials, ensuring that you can maintain the appearance of your bedding while keeping it clean and fresh.
Conclusion
Selecting the perfect baby bedding sets for your nursery is multifaceted. It involves balancing safety, comfort, and style while understanding your baby’s needs and preferences. Prioritizing quality and following essential guidelines will create a nurturing environment that supports healthy sleep. Make informed decisions by evaluating the various styles available—whether classic, modern, or themed—and considering your unique situation and nursery layout.
Take the time to explore your options, engage in thoughtful planning, and create a cozy space that reflects your family’s values and personal tastes. With careful selection and preparation, your nursery can become a beautifully designed, safe, and peaceful sanctuary where your baby will thrive during their early years. Remember, investing time and effort in these details can greatly contribute to the happiness and well-being of both you and your little one.