Introduction to Baby Changing Tables
A baby changing table is a cornerstone of nursery design, offering convenience and safety during diaper changes. Unlike traditional changing pads, these tables combine elevated surfaces, storage compartments, and safety features to streamline care. Key benefits include:
- Ergonomic Design: Reduces back strain for parents.
- Storage Solutions: Keeps diapers, wipes, and creams organized.
- Space Efficiency: Many double as dressers or shelves.
Types of Baby Changing Tables
Baby changing tables come in diverse styles to suit every nursery’s needs. Here’s a guide to the most popular types:
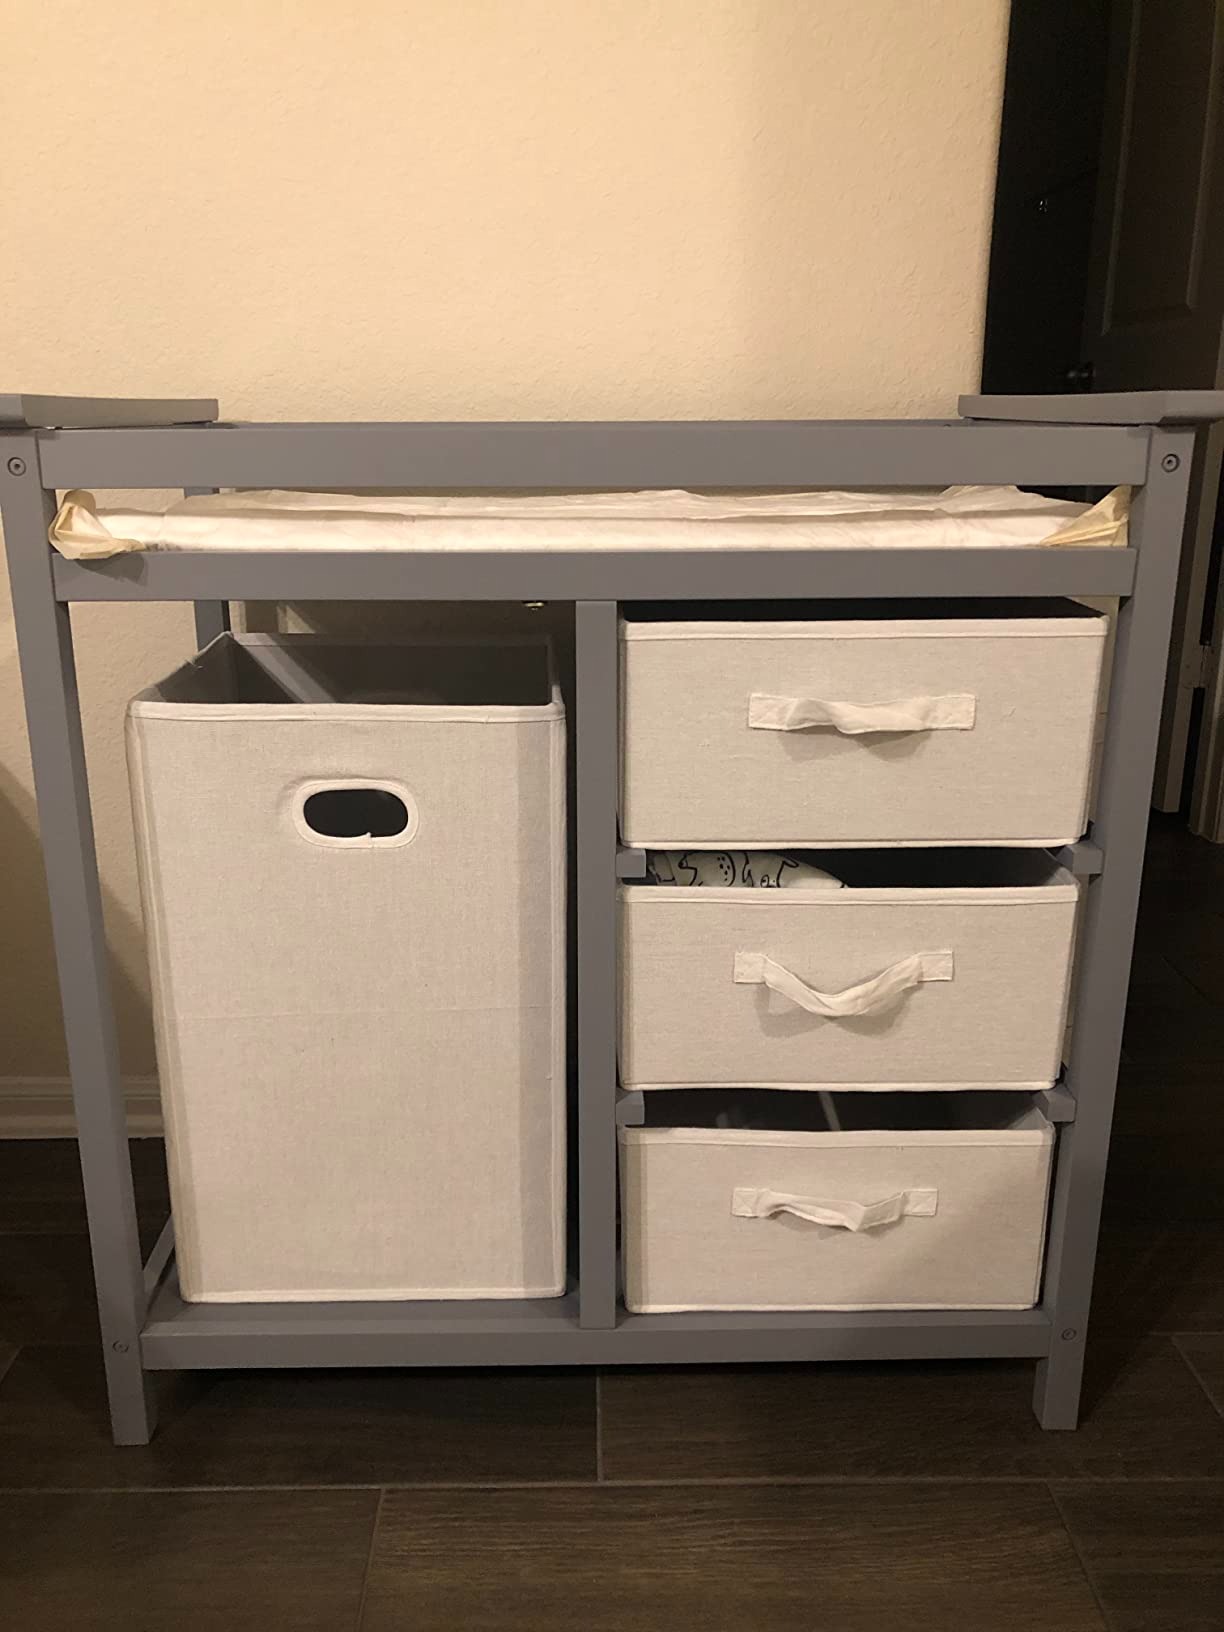
1. Freestanding Tables
- Design: Stands alone with wheels or stationary legs.
- Pros:
- Portability: Easily moved between rooms.
- Budget-Friendly: Starts at $50 (e.g., IKEA SNIGLAR).
- Cons: Requires floor space; ensure anti-tip brackets are installed.
2. Wall-Mounted Units
- Design: Attached to walls or furniture (e.g., dressers).
- Pros:
- Space-Saving: Ideal for compact nurseries.
- Secure: Mounting prevents tipping (e.g., Pottery Barn Wall-Mounted Station).
- Cons: Installation requires hardware and planning.
3. Convertible Designs
- Design: Transforms into a vanity, dresser, or storage unit.
- Pros:
- Longevity: Use beyond infancy (e.g., Graco Convertible Table).
- Customizable: Add drawers or shelves as your child grows.
4. Foldable/Adjustable Tables
- Design: Flips down from a vertical position or adjusts height.
- Pros:
- Compact Storage: Saves space when not in use.
- Height Adjustment: Grows with your child’s needs.
- Cons: Limited storage compared to stationary models.
5. Modular Systems
- Design: Integrates with cribs, gliders, or changing stations.
- Pros:
- Cohesive Aesthetic: Matches nursery themes (e.g., Stokke Modular Units).
- Multi-Functionality: Combines diapering with feeding or play.
Choosing the Right Type:
- Small Spaces: Opt for wall-mounted or foldable designs.
- Long-Term Use: Invest in convertible tables.
- Budget-Conscious: Start with a freestanding model.
Key Safety Features to Look For
When choosing a baby changing table, prioritize these safety features to protect your child:
1. Anti-Tip Brackets
- Purpose: Prevents tipping during use.
- Mandatory: Required by U.S. safety standards (ASTM F2085) for freestanding tables.
- How to Use: Attach brackets to walls or heavy furniture.
2. Guardrails and Safety Straps
- Requirements:
- Guardrails: At least 6” high on all sides if under 30” tall.
- Safety Straps: Mandatory for tables over 30” tall (e.g., 5-point harness systems).
- Tip: Ensure straps are easy to adjust and buckle securely.
3. Soft, Rounded Edges
- Why It Matters: Prevents bumps or scrapes during diaper changes.
- Material: Look for padded edges or corner guards.
4. Sturdy Construction
- Weight Capacity:
- Should support at least 30 lbs (child + changing pad).
- Materials: Opt for wood or metal over flimsy plastics.
5. Secure Mounting for Wall Units
- Installation:
- Follow instructions precisely—anchor brackets into wall studs.
- Avoid Overloading: Don’t add heavy items to mounted tables.
6. Locking Wheels or Stationary Base
- Freestanding Models:
- Locking wheels prevent sliding during use.
- Stationary Tables: Ensure legs are stable on all surfaces.
7. Compliance with Safety Standards
- Check Labels: Look for ASTM F2085 certification in the U.S. or equivalent standards globally.
Red Flags to Avoid:
- No Anti-Tip Brackets on freestanding tables.
- Sharp Edges or unstable construction.
By prioritizing these features, your baby changing table becomes a safe, reliable space for diaper changes.
Space-Saving Design Options
Maximize nursery space with these innovative baby changing table designs:
1. Wall-Mounted Units
- Design: Attach to walls or dressers for seamless storage.
- Benefits:
- Saves Floor Space: Ideal for tiny nurseries.
- Secure: Reduces tipping risks when installed properly.
- Example: Pottery Barn’s Wall-Mounted Station with a flip-down tray.
2. Foldable Tables
- Design: Flips vertically when not in use.
- Benefits:
- Compact Storage: Fits in corners or against walls.
- Portable: Move between rooms easily.
3. Modular Systems
- Design: Combines with cribs, gliders, or shelves.
- Benefits:
- Multi-Functionality: Acts as a changing station and storage unit.
- Aesthetic Harmony: Matches nursery themes (e.g., Stokke Modular Units).
4. Under-Cabinet Solutions
- Design: Mounts beneath dressers or shelves.
- Benefits:
- Hidden Storage: Keeps the changing area out of sight.
- Stable: Uses existing furniture for support.
5. Convertible Units
- Design: Transforms into a vanity or storage bench.
- Benefits:
- Long-Term Use: Serves beyond infancy.
- Space Efficiency: One piece serves multiple purposes.
Choosing the Right Design:
- Tiny Nurseries: Wall-mounted or foldable options.
- Long-Term Use: Modular or convertible tables.
These designs prove that even small spaces can accommodate a baby changing table without sacrificing style or safety!

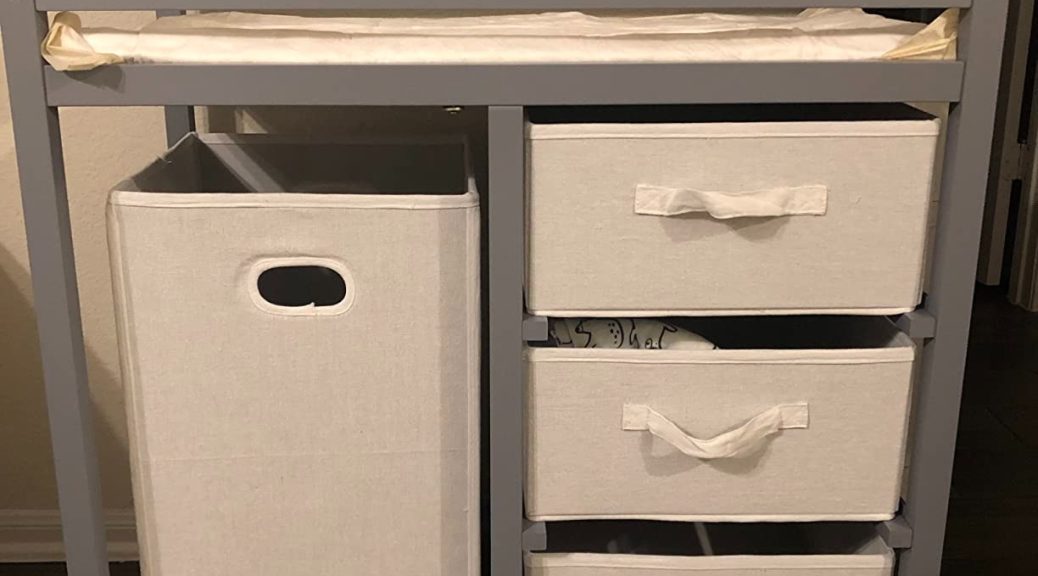
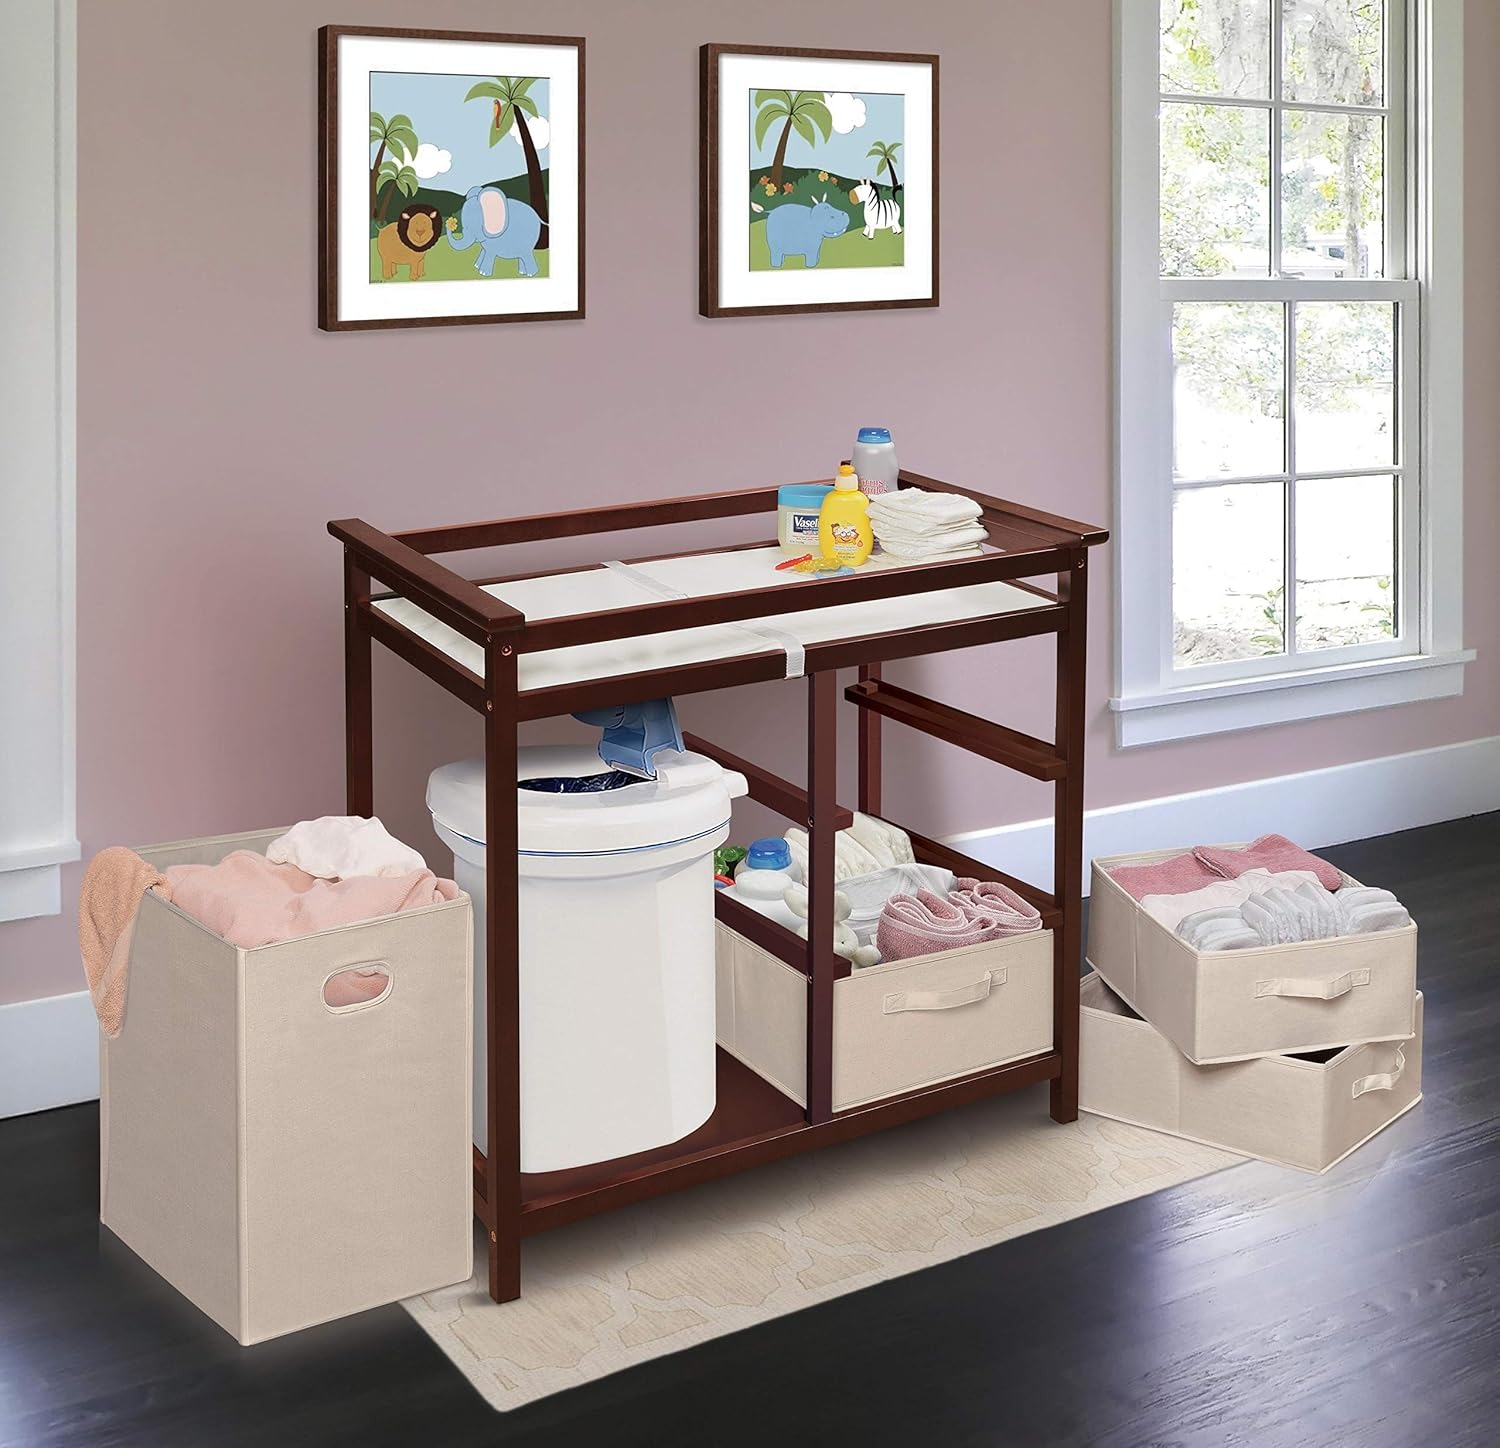
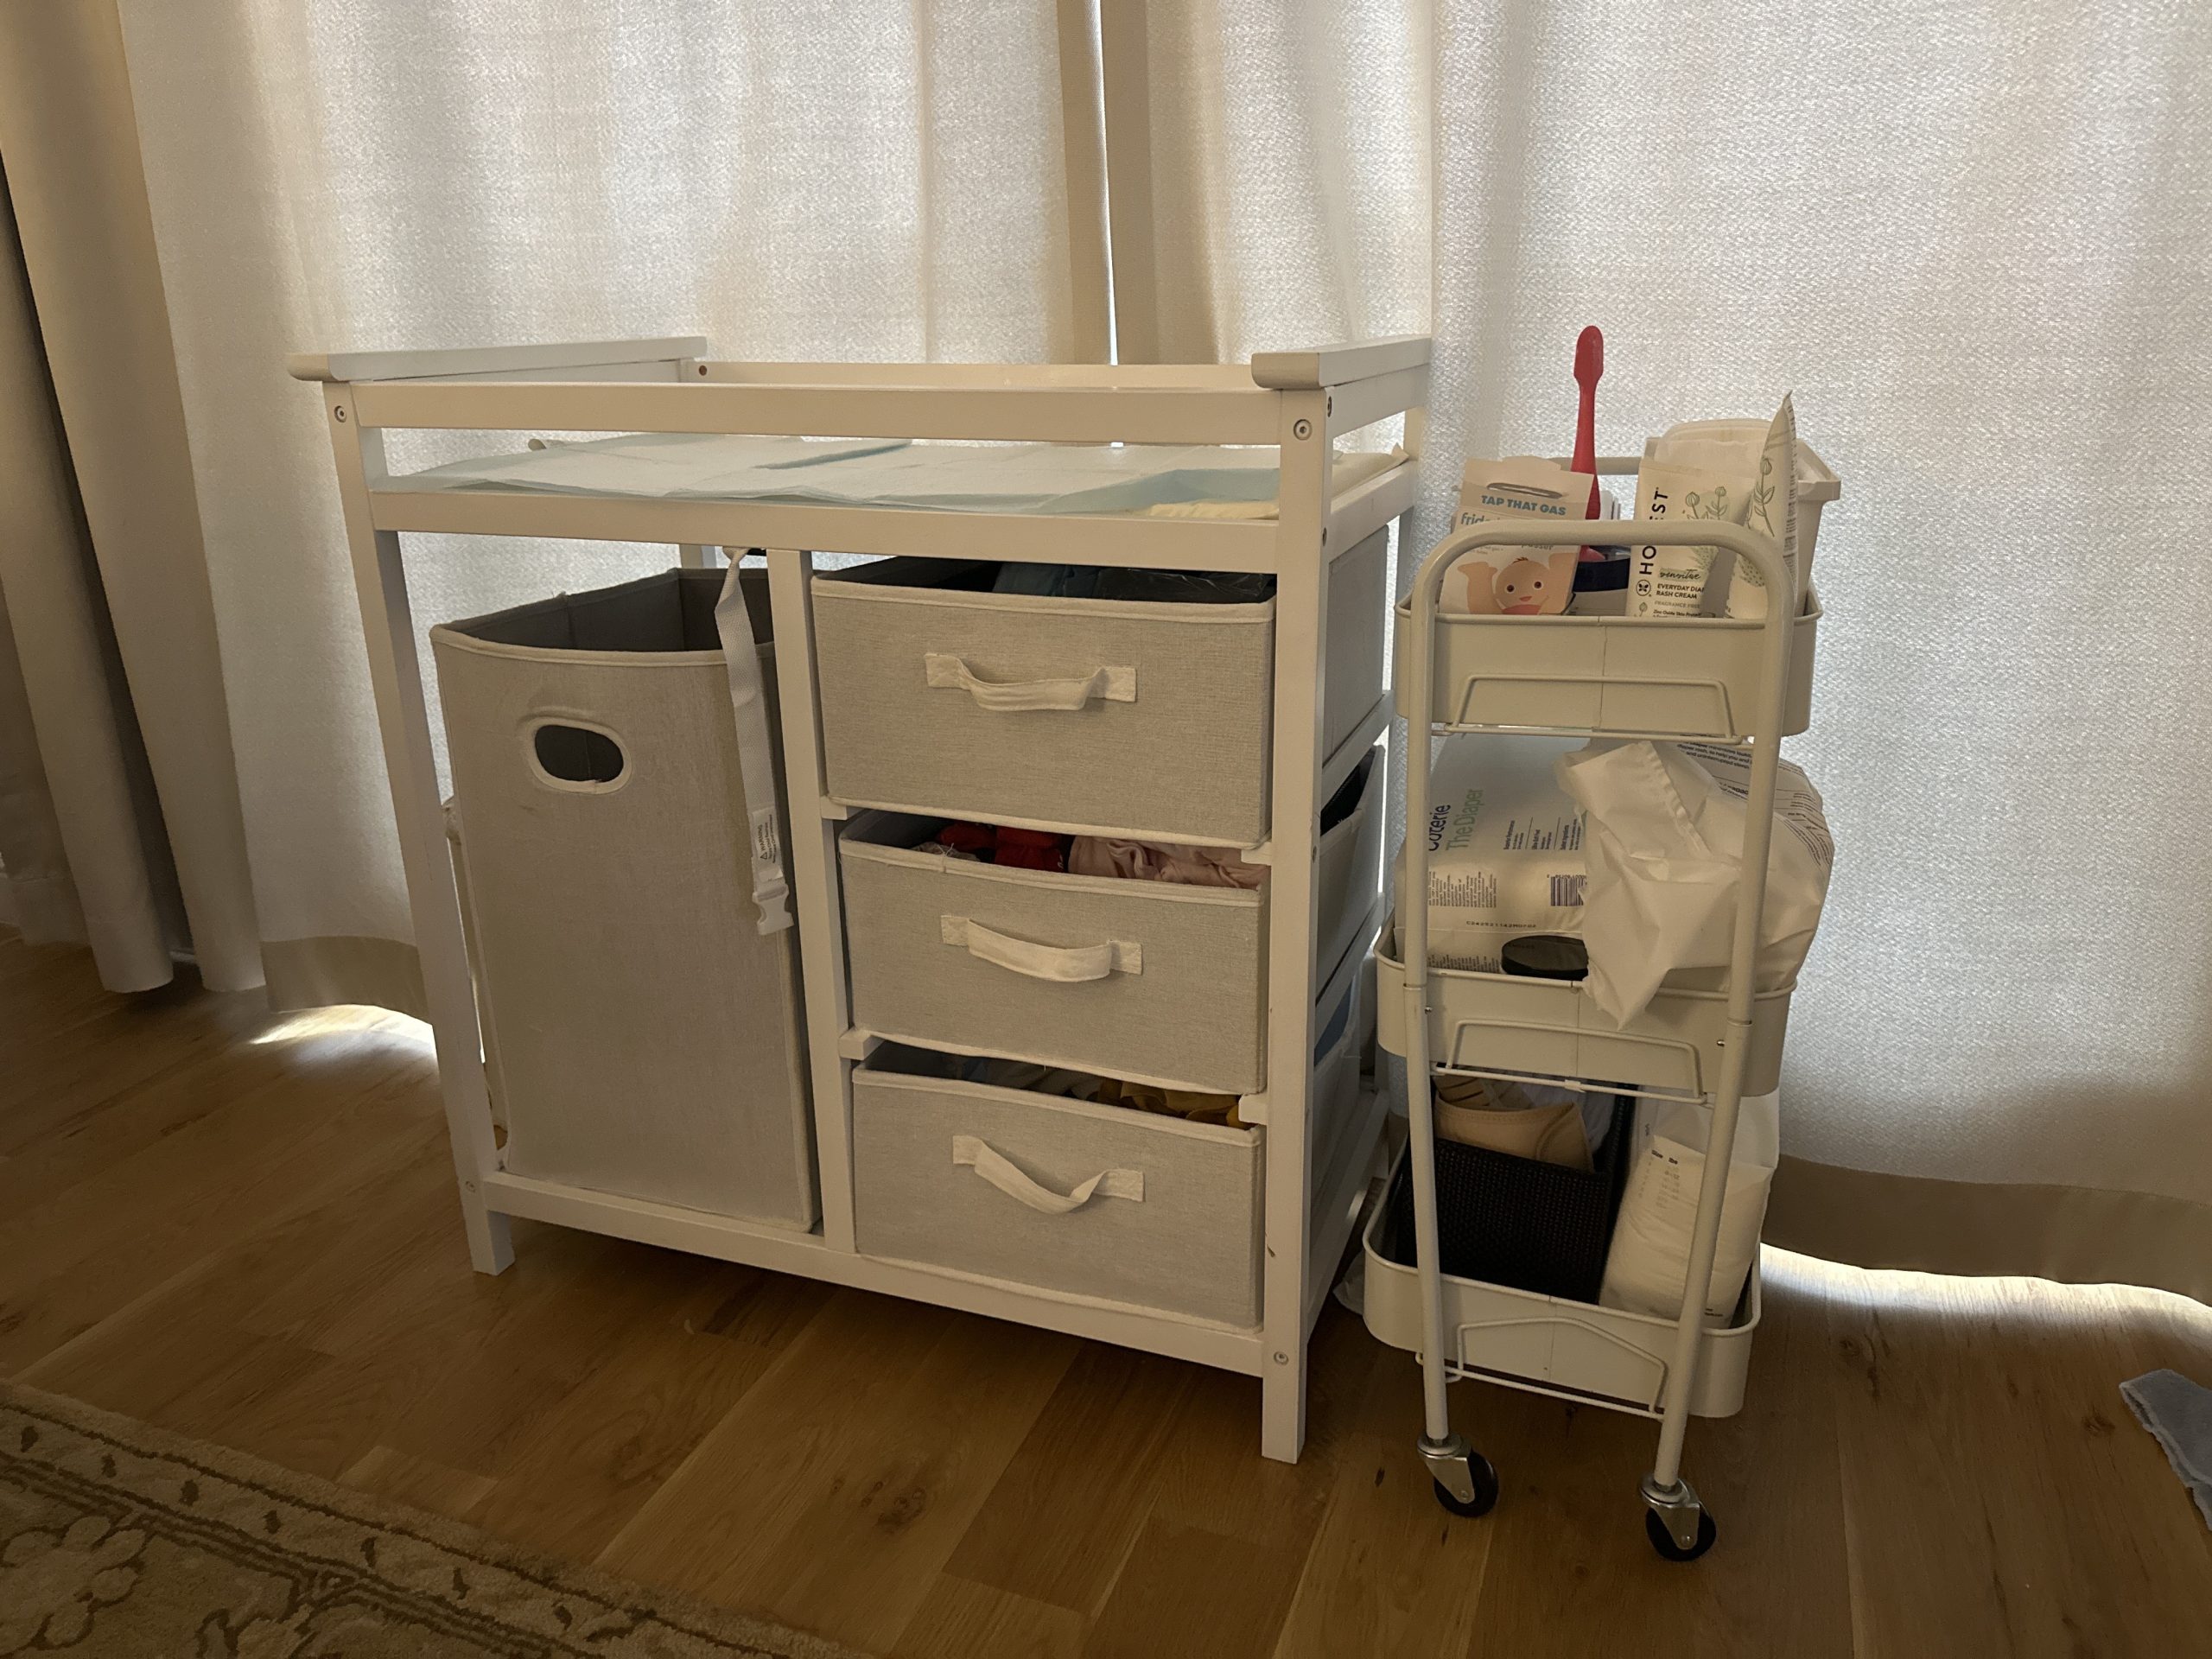
Storage and Organization Tips
Maximize your baby changing table’s storage potential with these smart organization strategies:
1. Drawer Dividers
- Use: Separate small items like diaper rash cream, nail clippers, and burp cloths.
- Tip: Opt for clear containers to quickly identify contents.
2. Wipe Holders
- Install: Magnetic strips or under-the-tray clips keep wipes within reach.
- Bonus: Prevents spills from liquid wipe containers.
3. Vertical Storage Solutions
- Add: Over-the-table hooks or shelves to hang changing pads or cloth diapers.
- Example: Attach a small basket beneath the table for dirty diapers.
4. Drawer Liners
- Purpose: Catch spills from creams or ointments.
- Tip: Use washable, waterproof liners for easy cleaning.
5. Caddy Systems
- Portable Options:
- Use a small basket or caddy to hold essentials like diapers and lotions.
- Bonus: Move it between rooms for on-the-go changes.
6. Label Everything
- Why: Saves time during late-night diaper changes.
- Use: Color-coded labels for categories like “Diapers,” “Clothes,” or “Medications.”
7. Regular Maintenance
- Routine:
- Restock supplies weekly.
- Discard expired medications or creams.
Final Tip:
A well-organized baby changing table turns diaper duty into a stress-free routine. Prioritize accessibility and cleanliness to stay calm during those late-night changes!
Choosing the Right Table for Your Nursery
Selecting the perfect baby changing table requires balancing safety, space, and style. Follow these steps for a smart choice:
1. Measure Your Space
- Width/Depth: Ensure clearance for movement (minimum 36” width).
- Height: Opt for adjustable models if sharing care with others.
2. Safety First
- Requirements:
- Anti-tip brackets for freestanding tables.
- Guardrails and straps for taller models.
- Check Certifications: Look for ASTM F2085 compliance.
3. Budget Considerations
- Basic Models: 50–150 (e.g., freestanding tables).
- Luxury Options: $300+ (convertible or modular designs).
4. Design Preferences
- Style: Match nursery themes (modern, rustic, or minimalist).
- Functionality:
- Wall-mounted for space-saving.
- Convertible for long-term use.
5. Storage Needs
- Drawers/Shelves: Prioritize if you need space for diapers, wipes, and creams.
6. Future Use
- Convertible Tables: Ideal if you want to reuse the piece beyond infancy.
Final Tip:
Visit stores to test comfort and sturdiness—your baby changing table should simplify care, not complicate it!
Common Misconceptions Debunked
Clear up myths about baby changing tables to make informed choices:
Myth 1: “All Tables Are Safe Without Anti-Tip Brackets”
Truth: Only tables over 30” tall require safety straps, but freestanding models always need anti-tip brackets (per ASTM standards).
Myth 2: “Wall-Mounted Tables Are Less Secure”
Truth: Properly installed wall units are stable—avoid overloading them with heavy items.
Myth 3: “Expensive = Safer”
Truth: Budget models like IKEA’s SNIGLAR meet safety standards if used correctly. Focus on certifications, not price tags.
Myth 4: “You Don’t Need a Changing Table”
Truth: Using beds or counters without guardrails risks falls. A dedicated table prioritizes safety and convenience.
Myth 5: “Convertibles Are Overpriced”
Truth: Models like Graco’s Convertible Table offer long-term value by transforming into vanities or dressers.
Myth 6: “DIY Solutions Are Cheaper and Just as Good”
Truth: Repurposed furniture lacks safety features—invest in a certified baby changing table for peace of mind.
Final Tip:
Safety and functionality matter most—don’t let myths overshadow your baby’s well-being!
FAQs: Everything You Need to Know
Here are quick answers to common questions about baby changing tables:
Q: What safety standards should I look for?
A: Ensure compliance with ASTM F2085 (U.S.) or equivalent global standards.
Q: Do I need anti-tip brackets?
A: Yes—for freestanding tables, they’re mandatory to prevent tipping.
Q: Can wall-mounted tables be unsafe?
A: No—if installed properly into wall studs. Avoid overloading them.
Q: What’s the best height for the table?
A: Between 28–34 inches to reduce back strain for caregivers.
Q: How do I clean it?
A: Use mild soap and water; avoid abrasive cleaners that damage finishes.
Q: Can I use it beyond infancy?
A: Convertible models transform into vanities or storage units post-potty training.
Q: What’s the average lifespan?
A: 5–10 years with proper care (depends on material and usage).
Q: Are foldable tables safe for frequent use?
A: Yes—as long as hinges are sturdy and locking mechanisms work smoothly.