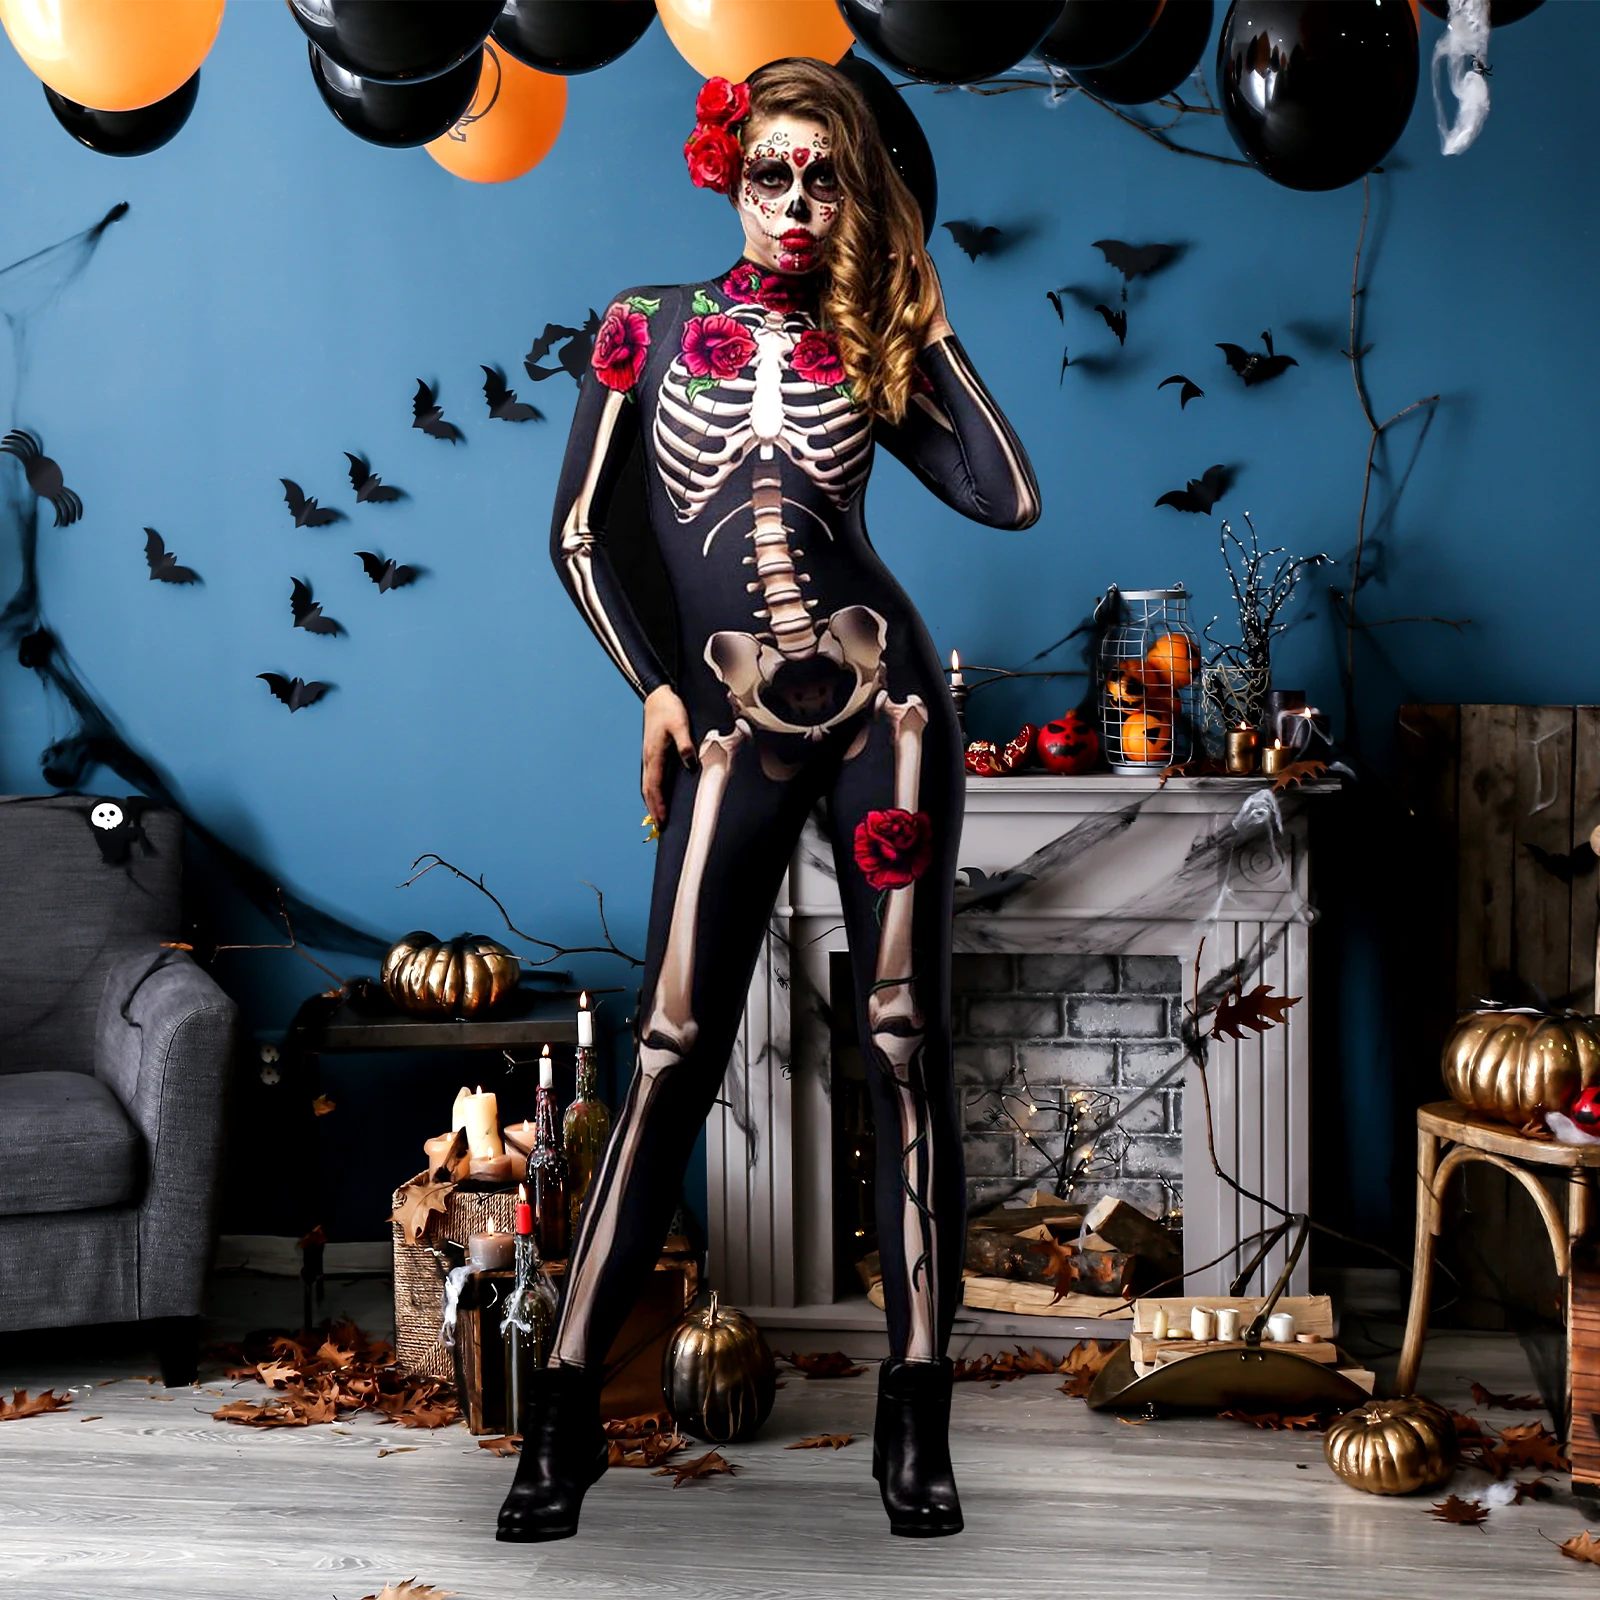
Dia de los Muertos dress-up is more than just a costume. It’s a vibrant way to honor loved ones and celebrate Mexican heritage. This annual tradition takes place on November 1st and 2nd. Families welcome the spirits of the departed with joy, not sorrow. The look includes colorful clothing, floral crowns, and symbolic face paint.
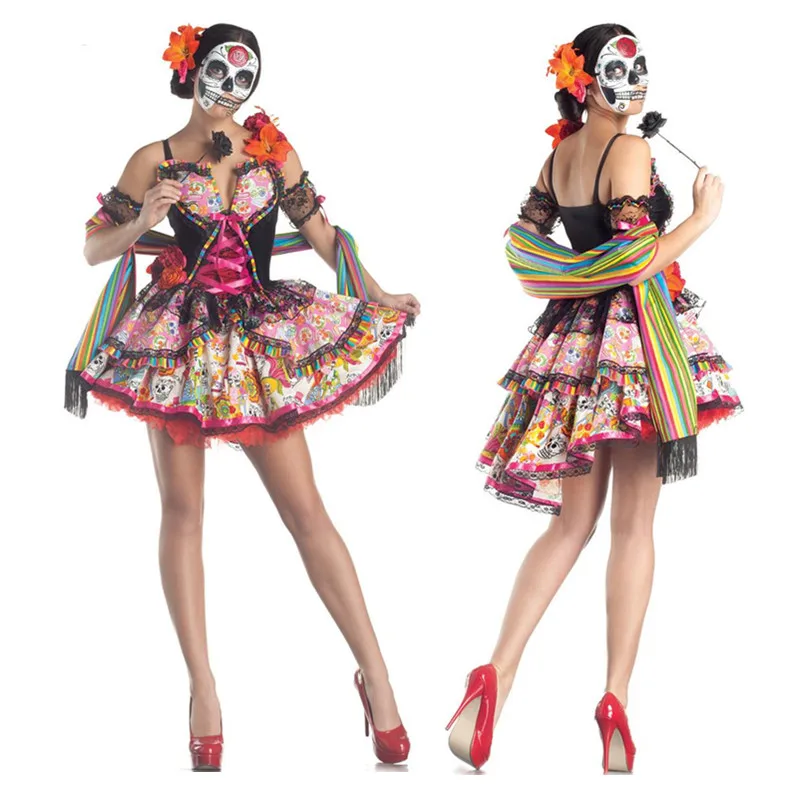
Moreover, Dia de los Muertos dress-up blends cultural pride with artistic expression. Participants wear traditional garments like embroidered blouses or long skirts. They add decorative details such as marigold flowers and sugar skull makeup. Each element carries deep meaning. As a result, this celebration stands out for its beauty and emotional depth.
 Why Dia de los Muertos Dress-Up Matters Beyond Fashion
This form of dress-up honors memory and ancestry. It reflects respect for those who have passed. Instead of mourning, families celebrate life and connection. Dia de los Muertos dress-up turns grief into gratitude.
The tradition also strengthens family bonds. Generations come together to prepare altars. Children learn stories about grandparents. Elders pass down customs through shared rituals. Unity grows during these moments.
Cultural identity plays a key role too. For many, wearing traditional clothes affirms heritage. It preserves language, music, and beliefs. Even in multicultural cities, the spirit remains strong.
Artistic freedom enhances the experience. People design unique looks each year. Makeup styles vary widely. Some choose bold colors. Others focus on delicate patterns. Creativity flourishes without limits.
Schools and communities host events. Students take part in parades and performances. Teachers use the holiday to teach history and art. Kids gain appreciation early.
Tourism supports local economies. Cities like Oaxaca and Mexico City attract thousands. Visitors join processions and markets. Cultural exchange increases awareness.
Religious roots blend with folk beliefs. Catholic influences meet indigenous traditions. All Souls’ Day aligns with ancient Aztec festivals. The mix creates something powerful.
Overall, Dia de los Muertos dress-up celebrates continuity. Life and death are seen as part of one journey. Joy replaces fear. Love stays alive.
 How Symbolism Shapes Every Part of the Outfit
Every piece of Dia de los Muertos dress-up has meaning. Skulls represent rebirth, not fear. Bright colors show happiness. White stands for purity. Red means blood and life force.
Marigolds guide spirits home. Their scent and color light the path. Petals form paths from graves to altars. These “flor de muerto” are essential.
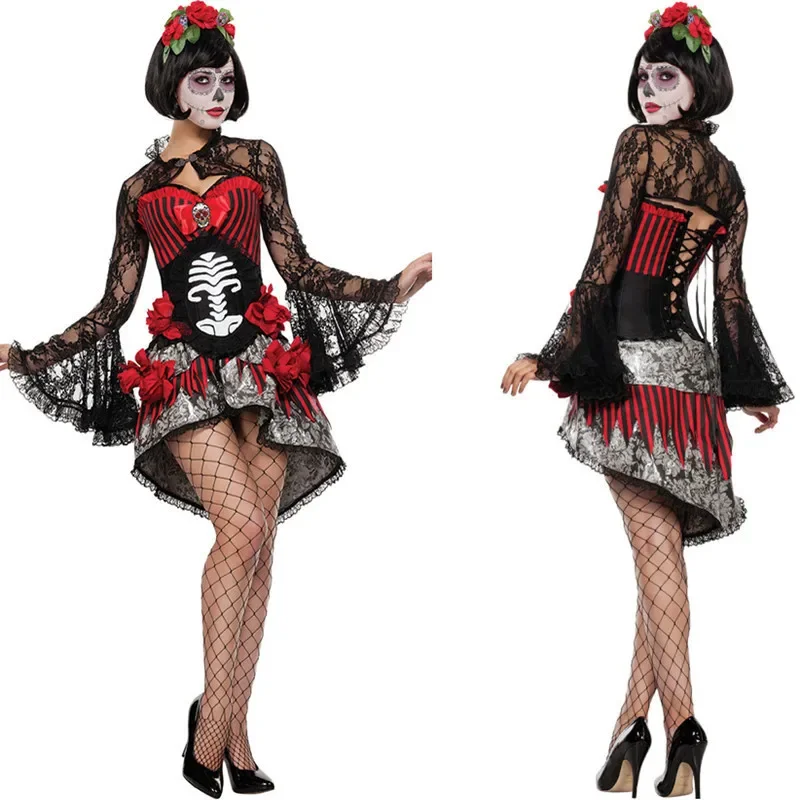
Floral headpieces often include daisies and roses. They frame the face gently. Crowns symbolize honor. Wreaths echo ancient offerings.
Calavera face paint mimics skeletons. Designs range from simple lines to full coverage. Artists use symmetry and nature themes. Butterflies suggest transformation.
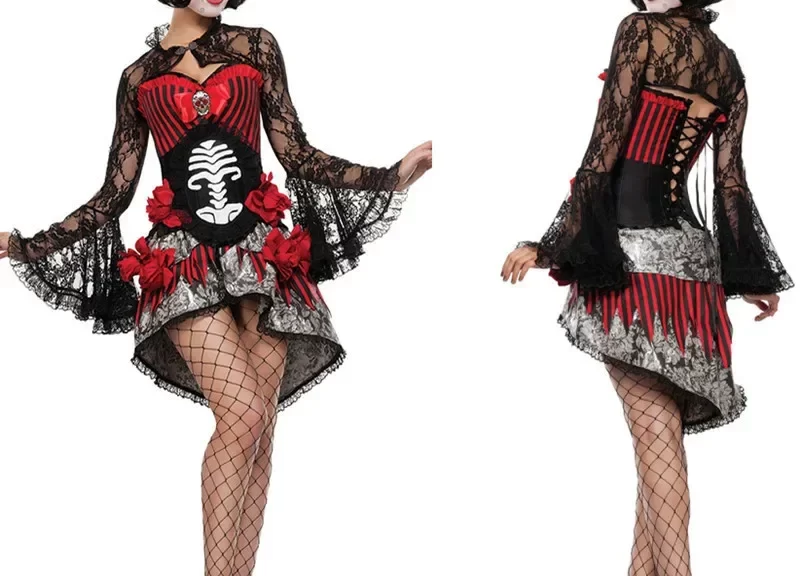
Clothing choices reflect status and region. Women may wear ruffled dresses. Men wear charro suits or peasant shirts. Fabric tells a story.
Jewelry adds personal flair. Necklaces with crosses or saints show faith. Beads in orange and purple match the season.
Accessories include fans, shawls, and hats. Each item connects to daily life in past times. Grandparents’ styles inspire modern versions.
Even shoes matter. Polished boots or sandals complete the look. Comfort allows dancing and walking.
Food appears too. Mini skulls made of sugar go on outfits. Candy represents sweetness in life.
All symbols work together. They create a respectful tribute. Beauty meets purpose in every detail.
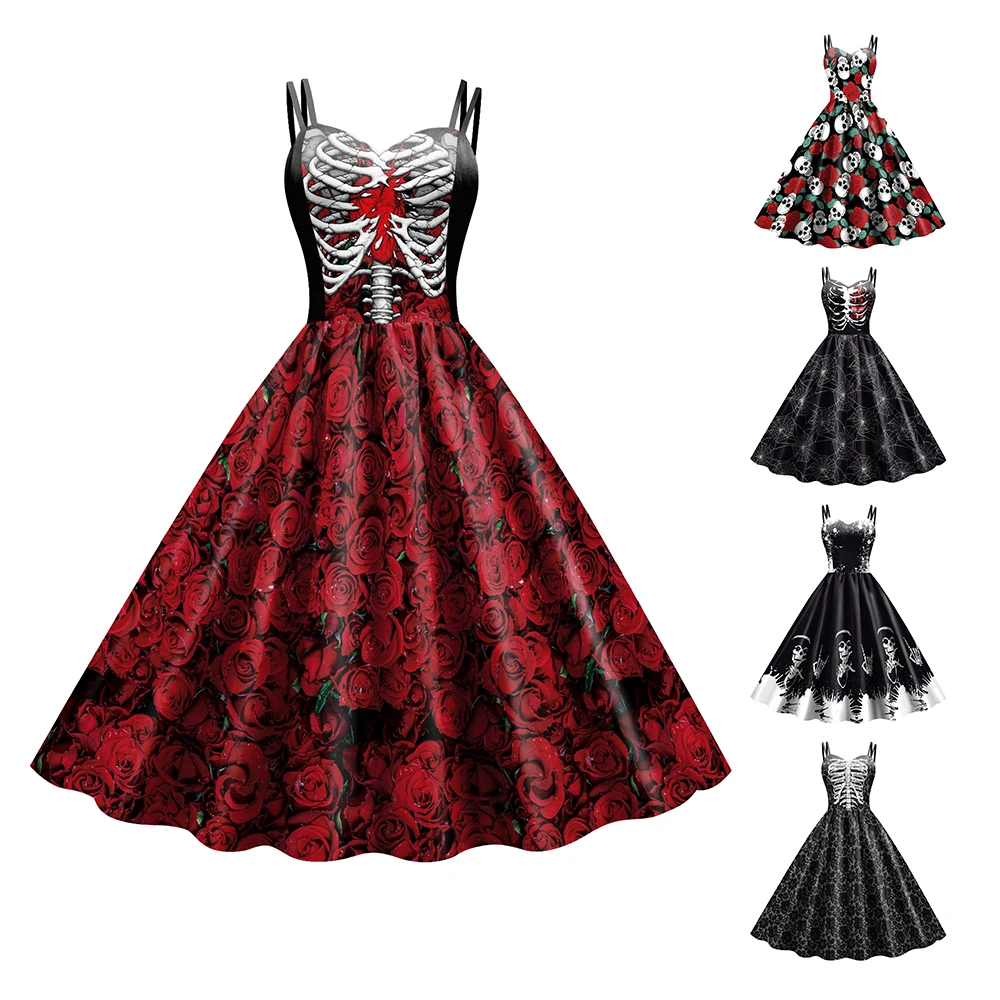
Traditional Clothing Styles
Women often wear huipiles, which are loose tunics. These come from indigenous groups. Embroidery shows regional patterns. Each stitch holds cultural value.
Long skirts with lace trim appear frequently. Black or purple fabrics dominate. Layers move gracefully during dances. Movement becomes part of the ritual.
Rebozos are woven shawls draped over shoulders. They protect from evening chill. Drape styles vary by age and mood.
Men wear white cotton shirts with black pants. Some add wide-brimmed sombreros. Charro jackets feature silver buttons. These mark festive occasions.
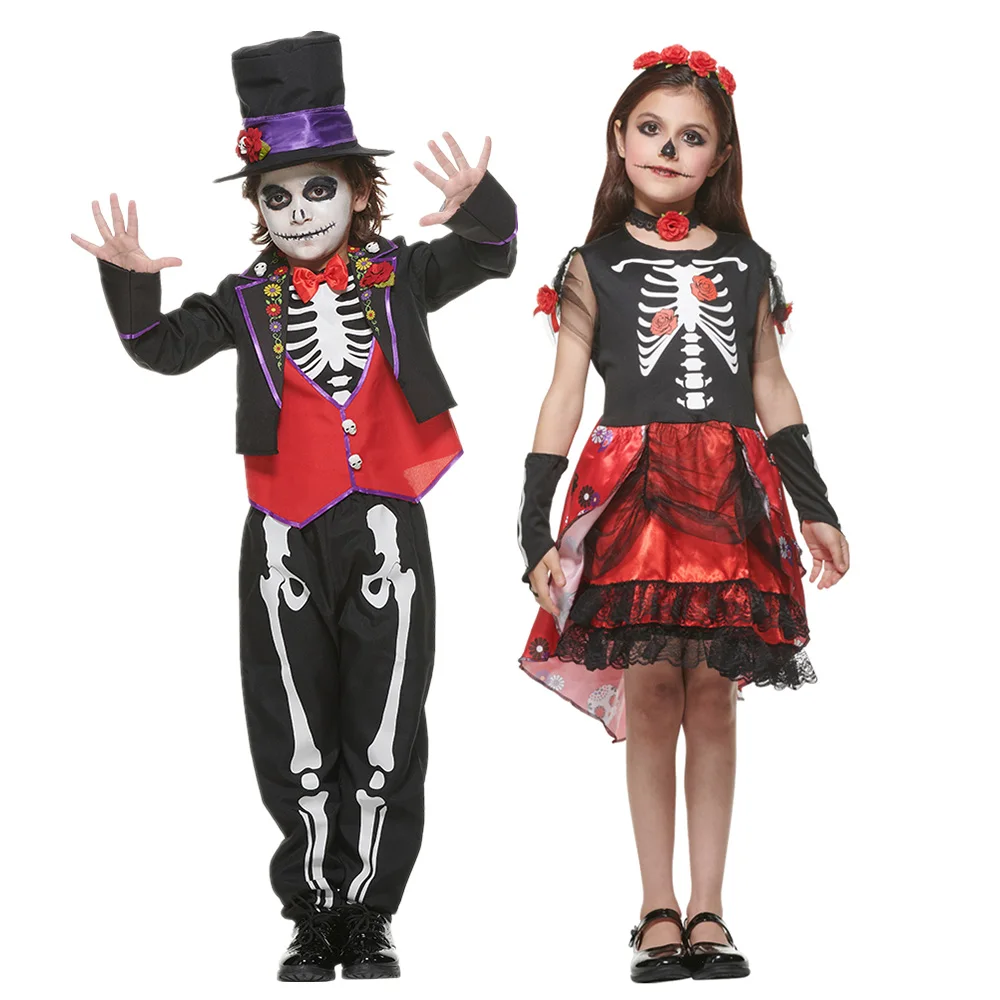
Children dress like adults. Tiny huipiles fit toddlers. Face paint matches parents’. Family unity shines through matching themes.
Regional differences exist. In Michoacán, women wear white dresses with red sashes. In Yucatán, men wear guayaberas. Local pride shapes fashion.
Modern updates include fitted silhouettes. Designers keep traditional elements. Fabrics may be lighter for comfort.
Parade costumes go bolder. Sequins, feathers, and glitter catch lights. Street performers shine brightly.
Handmade items support artisans. Families buy locally. Craft fairs grow around the holiday. Income helps small businesses.
Whether simple or elaborate, clothing honors culture. It keeps old ways visible. Young people see beauty in tradition.
 Creating Authentic Calavera Face Paint
Face paint is central to Dia de los Muertos dress-up. It starts with a white base. Non-toxic, water-based makeup works best. Apply evenly across forehead and cheeks.
Next, outline eye sockets. Use black or dark gray. Keep edges clean. Add cheekbone curves below the eyes. Symmetry brings balance.
Lips form a wide smile. Outline first. Fill with red or pink. Add black lines to mimic cracked bones. Some leave teeth showing.
Forehead designs vary. Flowers, swirls, or sunbursts appear here. Marigolds repeat the altar theme. Nature connects all parts.
Eyebrows stay bold. Black or colored lines extend outward. Shape lifts the face. Expression feels joyful.
Add gems or glitter carefully. Stick them with adhesive. Place near eyes or temples. Sparkle draws attention.
Use stencils for complex shapes. Beginners find them helpful. Practice on paper first. Confidence builds with time.
Avoid harsh chemicals. Sensitive skin needs gentle removers. Coconut oil or baby wipes clean safely.
Let paint dry fully before moving. Wind or sweat smudges wet layers. Stay calm during application.
Many watch tutorials online. Artists share tips. Step-by-step videos guide learners.
Professional makeup artists offer services. Events hire them for guests. Long lines form at booths.
Materials and Tools Needed for a Full Look
Start with a clean face. Wash with mild soap. Dry gently. Moisturizer can interfere with paint. Skip it before applying.
Buy quality face paints. Brands like Mehron or Snazaroo work well. They don’t crack or fade fast. Check expiration dates.
Sponges help cover large areas. Use different sizes. Small brushes handle fine lines. Round and liner types are useful.
Water cups rinse brushes between colors. Keep several on hand. Dirty tools ruin clean lines.
Makeup remover wipes clean mistakes. Have them ready. Avoid rubbing too hard.
Hair accessories include combs and pins. Secure braids or curls. Attach floral clips firmly.
Costume pieces must fit well. Try everything beforehand. Fix loose hems or broken zippers.
Shoes should be comfortable. Many walk long distances. Blisters ruin the experience.
Carry a small bag. Store tissues, lip balm, and water. Essentials keep you fresh.
Mirrors help check your look. Bring a handheld version. Confirm symmetry before leaving.
Sunscreen protects exposed skin. Even under makeup, UV rays reach. Use clear gel if needed.
Hat or umbrella shields from rain. Weather changes fast. Be prepared for surprises.
Keep extra supplies nearby. A small kit helps fix issues. Quick fixes save the day.
Share products with friends. Help each other apply. Bonding happens during prep.
 Where to Buy Dia de los Muertos Dress-Up Items
Online stores offer full kits. Amazon, Etsy, and specialty shops sell sets. You get makeup, clothes, and accessories together.
Etsy features handmade goods. Artists craft unique dresses. Support real creators. Custom orders are possible.
Local boutiques carry authentic items. Some import directly from Mexico. Prices may be higher. Quality often justifies cost.
Party supply stores stock basics. Masks, face paint, and capes are common. Selection may lack depth. Good for last-minute needs.
Cultural festivals sell crafts. Markets during October and November thrive. Meet vendors in person. Feel fabric before buying.
Schools and community centers organize sales. Fundraisers support events. Families contribute homemade pieces.
Thrift stores sometimes have options. Search for lace dresses or vintage coats. Upcycling saves money.
DIY projects build personal style. Sew a skirt or paint a shirt. Handmade feels more meaningful.
Swap events happen too. Trade unused costumes. Refresh your closet freely.
Always check labels. Natural fibers breathe better. Cotton and linen suit warm climates.
Support ethical brands. Fair wages matter. Choose companies that respect culture.
Frequently Asked Questions
Is it cultural appropriation?
Not if done respectfully. Learn the meaning. Avoid stereotypes. Honor the tradition.
Can non-Mexicans participate?
Yes. Many cultures embrace it. Do so with education and care.
What age is right for kids?
Any age. Simplify makeup for toddlers. Focus on flowers and soft colors.
How long does face paint take?
30 to 60 minutes. Practice reduces time. Complex designs need patience.
Can I swim with the outfit?
No. Water ruins makeup and fabric. Avoid pools or rain.
Do I need special shoes?
Comfortable ones. Walking happens all day. Closed toes protect feet.
Is makeup safe for sensitive skin?
Use hypoallergenic brands. Test first. Remove gently after.
Can I eat in full dress-up?
Yes. Be careful. Avoid greasy foods. Napkins help.
 Final Thoughts
Dia de los Muertos dress-up continues to inspire people worldwide. It combines art, memory, and celebration in one powerful event. Whether honoring family or joining a parade, each person adds meaning.
The tradition teaches joy in the face of loss. It reminds us that love lasts beyond life. Through color, music, and costume, we keep memories alive.
As interest grows, so does responsibility. Respectful participation matters most. Learning the roots ensures dignity. Now is the time to celebrate with heart.
With creativity and care, anyone can enjoy Dia de los Muertos dress-up. It’s not just a look. It’s a legacy. Wear it proudly and thoughtfully.

 Key Features of a Endurance Road Bike
 How Frame Material Affects Ride Quality
 Suspension and Compliance Technologies
 How to Choose the Right Size and Fit
 Summary